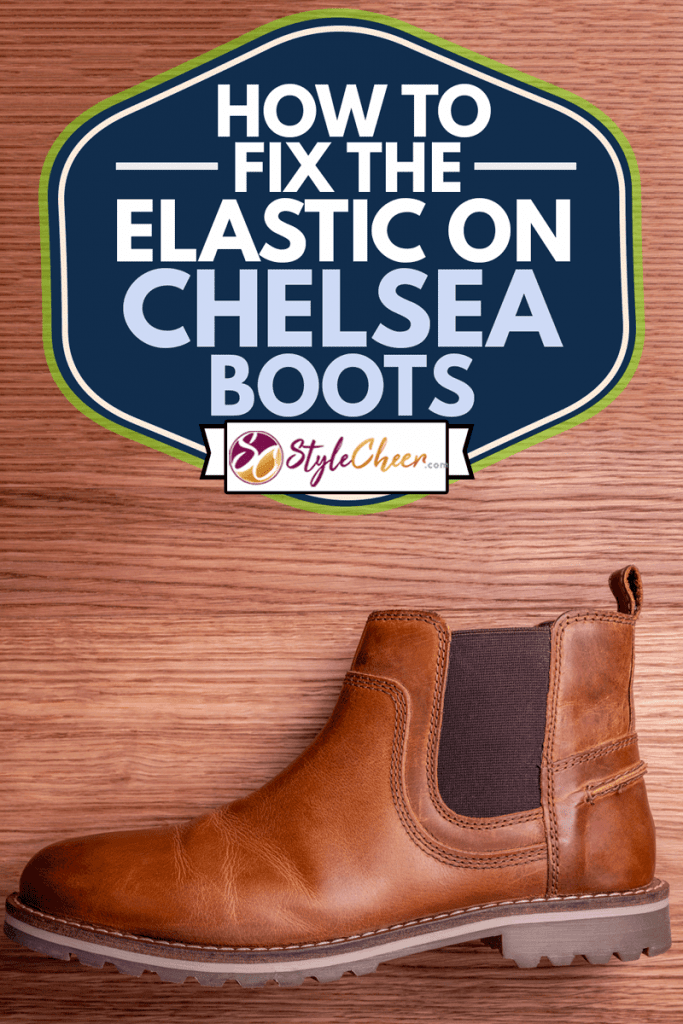
Hey there, Chelsea boot enthusiasts! We understand how much you cherish your boots, but what can you do when the elastic on Chelsea boots stretches out of shape, leaving them slumped and baggy? We've got the answer for you! It's no wonder that these boots have been a favorite for centuries, worn by everyone from royalty to rockstars. Don't worry, we've got the ultimate solution to fix that stretched-out elastic. So sit tight and let us show you how to bring those beloved boots back to life.
Don't let stretched-out elastic ruin your favorite pair of Chelsea boots! While it may seem like a daunting task, replacing the elastic is actually easier than you might think. If you're a DIY enthusiast with a lower-end pair of boots and some basic sewing skills, we've got you covered. In this guide, we'll take you through the step-by-step process to fix the elastic yourself and bring your boots back to their snug fit and sleek look.
But, if you've invested in a high-end pair of boots, we recommend leaving the job to a professional cobbler to avoid any damage. No matter what kind of boots you have, we'll provide you with all the tools and supplies you need, including a detailed description of each step. And that's not all! We'll also give you tips on how to put on and remove your Chelsea boots without stressing the elastic and how to keep them comfortable. Keep reading to learn everything you need to know!
This article may include affiliate links and elements that were carefully created by our team using advanced ai to help you envision the best style advice.
Step-by-Step Guide To Replacing Elastic On Chelsea Boots
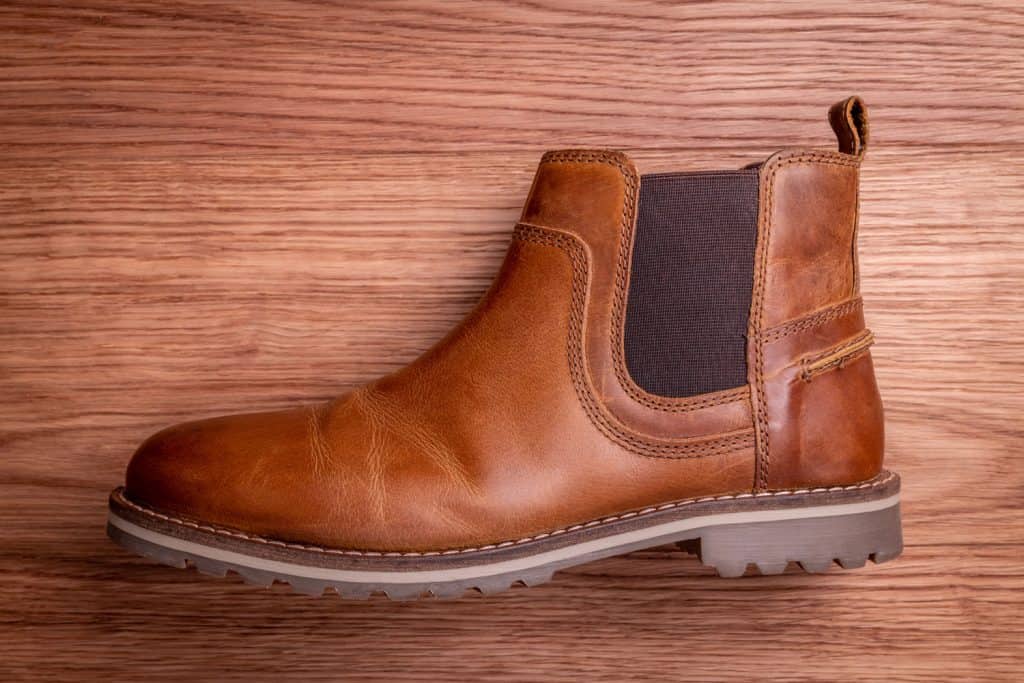
Chelsea boots rely on elastic side panels (called gussets) to allow the feet to slip in and out. The absence of zippers, buckles, or laces gives Chelseas their sleek, sophisticated look.
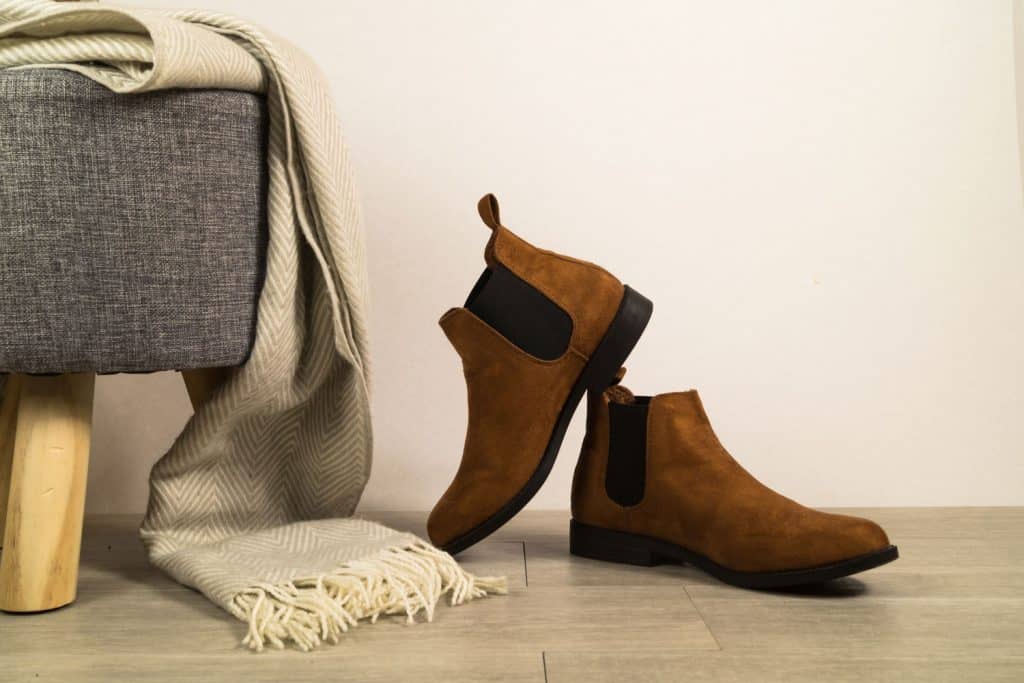
When the gusset stretches, causing the boots to lose their shape, that look is destroyed. You can revitalize your Chelsea boots by replacing the elastic gussets. Just follow the simple steps below:
Tools And Supplies
To complete this job, you will need the following:
- Seam ripper
- Curved-tip small sewing scissors
- High-quality elastic gusset material (enough to replace all four gussets, in a color that matches or complements your boots)
- Boot repair glue
- Shoemaker's awl
- Two shoe repair needles
- Waxed shoemaker's thread in a color that matches or complements your boots


Click here for shoe repair kit on Amazon.
1. Remove The Worn Elastic
- On the inside of the boot, locate the stitches that hold the gusset in place. They should be evident in a U-shape where the inner liner and the gusset meet.
- Use the seam ripper and/or sewing scissors to remove all of these stitches. Cut the threads on the boot's liner (inside part) rather than the upper (outside part) to avoid leaving tool marks on the upper. Once the stitches are cut, they can be gently removed from either side.
- When all the stitches have been pulled, remove the gusset. Its edges will be sandwiched between the liner and the upper but, with no stitching left to hold it in place, it should pull free easily.
- Repeat this process for all four gussets (two on each boot). If you replace one gusset, you should replace them all to maintain a uniform appearance and fit.
2. Cut A New Piece Of Elastic
- We can't stress enough how important it is to invest in the best quality elastic you can find. The quality of the elastic in the gussets will determine both the look and the longevity of your Chelsea boots!
- Mark and cut four new elastic gusset pieces. Note: If your old gussets are severely stretched, do not use them as guides for cutting the new ones because the new gussets will be too big and will fit loosely. Instead, measure the gap in the boot itself and cut your new elastic gussets to fit. Be sure to include a 3/8" overlap all the way around to make the stitching easier.

Click here for elastic on Amazon.
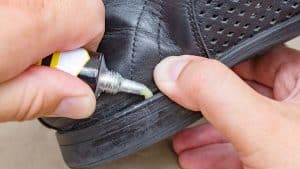
3. Glue The New Elastic Into Place
- Clean the gusset area of the boots thoroughly with a damp cloth to remove any dirt or stray bits of thread.
- Select one elastic gusset and run a thin bead of glue around the U on one side, about 1/8" from the edge.
- Pull the liner and the upper of the boot slightly apart and insert the gusset with the glued side facing the liner.
- Starting at the bottom of the U, press the glued part of the gusset against the liner.
- After the gusset is glued to the liner, run a thin bead of glue around the U on the remaining side and press the upper of the boot against it, thus gluing the upper and the gusset together. (The gusset will now be sandwiched between the liner and the upper and glued to both.)
- If any glue oozes onto the upper, wipe it off immediately with a damp cloth.
- Let the glue dry fully before taking the next step.

Click here for boot glue on Amazon.
4. Stitch The New Elastic To The Upper And The Liner
By Hand:
- Cut a long piece of waxed shoemaker's thread. Allow 4" of thread for each 1" of the seam to be sewn, plus 6" to 12" extra for convenience.
- Thread two shoemaker's needles: one at each end of the thread.
- Starting at the top of one side of the gusset area, run one needle through the top hole on the upper, through the gusset and the liner's corresponding hole.
- Pull the thread through these holes until you have an equal amount on either side of the hole.
- Then make the next stitch as follows: the upper needle stitches down through the next hole, and the lower needle stitches up through it.
- Continue stitching this way, with both a down-stitch and an up-stitch through each hole, all the way around the U-shaped gusset area.
- Because your boots already have stitch holes from the original gussets, the thread should pull through easily. If any of the holes are blocked, use a shoemaker's awl to clear them.
- You may use one very long piece of thread to stitch the entire gusset, or you may cut it in two and sew each half from the top to the bottom of the U-curve.
- For aesthetic reasons, knot your thread on the boot's interior (on the liner side).
Sewing Machine:
- To sew through the leather, it's best to use a heavy-duty walking-foot machine such as the Rex RX-607.
- Start stitching at the top, and proceed smoothly around the bottom of the U and up the other side.
Congratulations! Your Chelsea Boots are sleek, snug, and ready to wear!


Click here for Rex RX-607 on Amazon.
Are Chelsea Boots Easy To Put On?
Chelsea boots are designed to be easy and quick to put on and take off. The elastic gusset on each side, which runs from the top of the boot to just below the ankle bone, flexes to allow the wearer to slip them on and off without needing buckles, zippers, or laces. Beware, though, of putting too much stress on the elastic. If it stretches out of shape, your boots will sag and lose their snug fit.
Chelsea boots come with a pull-tab at the back (and sometimes another at the front) that you can tug to help the boots slide on and off to ease the strain on the elastic gussets. You can also extend the life of the gussets by using a shoehorn.
How Do You Make Chelsea Boots More Comfortable?
The most important thing you can do to ensure that your Chelsea boots are comfortable is to buy those that best fit you. Because the "flex" of Chelsea boots is in the elastic gussets and not in the instep, toe, or heel areas, it's important to choose a pair that comfortably fits your feet. Try on multiple brands and sizes before you make a decision.
How Do You Keep Chelsea Boots From Slipping?
The most-often cited discomfort with Chelsea boots is that they can slip at the heels and/or arch area. There are a couple of easy solutions to this issue. First, you can simply wear thicker socks. Or, if you'd like some extra cushioning as well, you can insert padded insoles. If your boots are still slipping after trying both of these remedies, they are probably a size too big.
Can You Tighten Chelsea Boots?
You can't tighten the elastic on your Chelsea boots once it has stretched. But you can spot-tighten small areas of the leather or suede upper to get a more comfortable fit. Here's how:
- With a damp cloth, gently wet a small area of the upper that you have targeted for tightening.
- Allow the area to dry fully; then try on the boot for fit.
- If needed, repeat the process multiple times to get the exact fit you're looking for.
In Conclusion
You can keep your Chelsea boots looking sleek and sophisticated by replacing overstretched elastic gussets. Just follow the steps above, and you'll be stepping out in style again in no time!
You may also enjoy:
Are Chelsea Boots Supposed To Be Loose?
What Socks To Wear With Chelsea Boots?
Be a part of the StyleCheer family and never miss a beat with our always current news section.