Finding bubbles in your freshly painted nails, whether done at home or in a salon, can be frustrating. Thankfully, there are solutions to fix and even prevent these bubbles.
If you've encountered nail polish bubbling and are looking for a remedy, we've researched effective methods for you. We'll guide you through fixing bubbles and share tips on preventing them. Continue reading to keep your nail polish smooth and bubble-free.
How To Fix Bubbles In Your Nail Polish
Depending on the severity of the bubbles and the complexity of your nail design, there are a number of ways to fix your nail if the nail polish has bubbled. Here are some of the most effective ways:
1. Nail Polish Remover
Dip your finger into the nail polish remover and smooth it over the bubbled nail. This method lets you quickly eliminate the bubbles and preserve your polish. Follow up with a top coat to keep the polish smooth.
Take a look at this clip to see this method in action:
This article may include affiliate links and elements that were carefully created by our team using advanced ai to help you envision the best style advice.
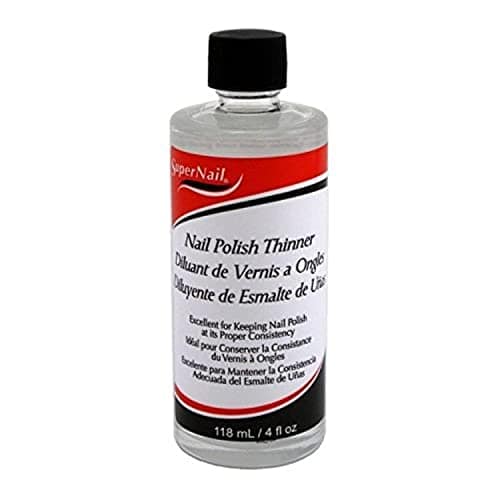
2. Nail Polish Thinner
Don't mistake nail polish thinner for the similarly named nail polish remover. While nail polish remover is applied to remove nail polish from the nails, thinner is most often applied directly inside the nail polish to thin it out and make it smooth.
However, nail polish thinner can also be used to smooth bubbles out. Use a brush to apply the nail polish thinner directly to the nail and let it dry.
If you notice that some of the polish has been wiped away in the process, touch up the nail with polish before applying a top coat.
3. Warm Air
Applying warm air to remove air bubbles is common practice with crafting, including resin and stickers or decals. The warm air brings air bubbles to the surface and eliminates them, leaving a smoother area behind.
The same method can be applied to nails as well. Blowing warm air onto your nails or using a hairdryer on very low heat will slightly melt the surface of the polish, allowing the bubbles to escape.
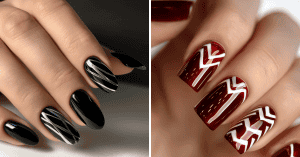
4. Bubbled Nail Art
If you plan to spend more time on your nails to add nail art, you may not want to go through the process of removing the bubbles from your nails before moving on to the nail art step.
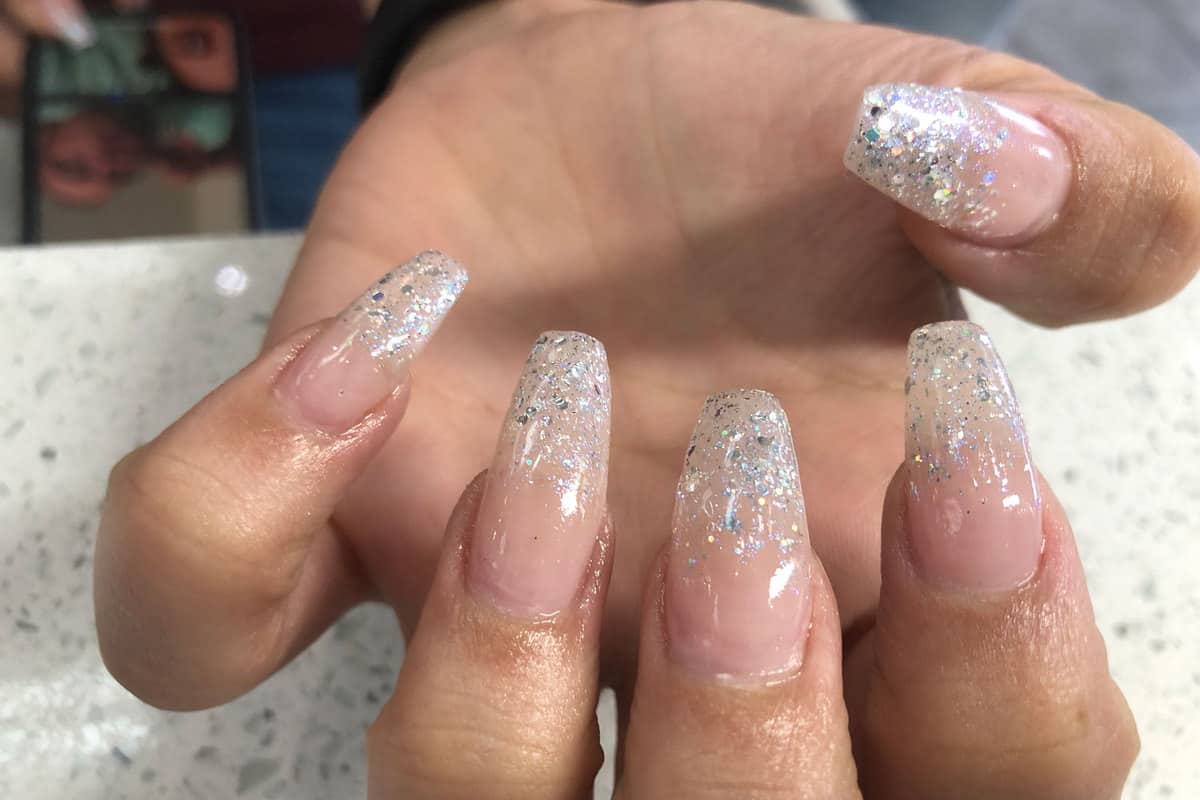
As long as the bubbles don't create lumps or make your nails look messy, you can try incorporating the bubbles into your art. Even a design as simple as the image above can do a good job of hiding the bubbles behind the glitter.
5. Start Over
If all else fails, you can remove the bubbled polish from your nail and re-paint it. While this is more time-consuming, it is more likely to work than the other methods.
Take a look at some tips for preventing bubbles in nail polish, so your next attempt is smoother-pun intended!
How To Prevent Nail Polish Bubbles
Bubbling occurs for a number of reasons. Some of these reasons are not letting each nail polish coat dry completely, using old nail polish, and starting with rough nails. Ensure a smooth finish every time by following these tips.
1. Let The Layers Dry!
Polishing your nails should not be rushed or started five minutes before you head out the door. A good paint job is, unfortunately, time-consuming.
Each layer, from the base coat to the top coat, should be dried thoroughly before adding the next layer. This prevents air bubbles that may form between the last layer of wet polish and the next one.
2. Refrain From Shaking The Bottle
We all do it, especially when we haven't used a particular polish in a while. It is well intended because separation occurs, and you want to incorporate all of the polish before applying it to your nails.
However, shaking the nail polish adds air bubbles to it that can be easily transferred from the bottle to the brush to the nail. Instead, roll the bottle in your hands. The warmth will incorporate the ingredients without adding the bubbles that come from shaking.
3. Create A Clean, Smooth Canvas
You wouldn't start a painting on an imperfect surface and shouldn't paint imperfect nails either. If you attempt to introduce polish to cracked, rough, or uneven nails, the polish will not have a smooth surface to adhere to, creating air bubbles.
Cosmopolitan suggests starting your manicure by buffing your nails to create that smooth surface before you begin polishing.
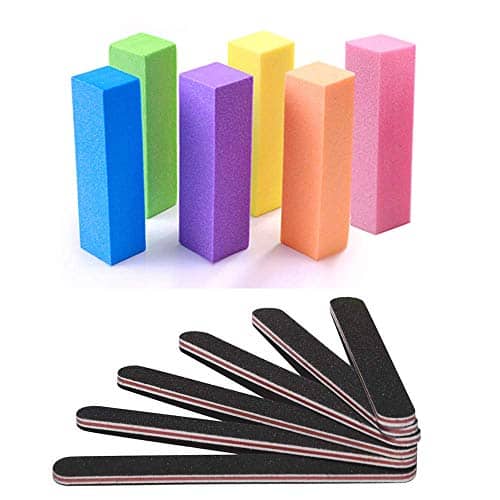
View these buffing materials on Amazon.
For tips on smoothing your nail surface, consider reading "Can You File Nails With Nail Polish On?"
4. Purge Your Old Nail Polish
Thick or lumpy nail polish will undoubtedly result in uneven, bubbled nails. Get rid of your expired nail polishes and treat yourself and your nails to new ones.
If you have any colors that are not expired but are thicker than they should be, add some nail polish thinner to it to thin it out. Start with just a few drops and mix the polish. Add more drops as needed until the polish is thin and smooth.
How Do You Make Nail Polish Smooth?
While good technique ensures a smooth finish, you also need to make sure that you are using quality nail polish that is not too old or expired.
Also, make sure it is not too thick. If you find that your nail polish is thick or lumpy, thin it with nail polish thinner. Finally, polish your nails with thin layers, allowing each coat to dry before adding the next one.
How Many Coats Of Nail Polish Is Too Much?
Nail experts agree that three coats of nail polish are the maximum number of coats you should apply. However, one layer of base coat and two layers of top coat are recommended as well. So, you would use a total of five coats on your nails for the perfect finish.
How Can I Make Nail Polish Stay On Longer?
Now that you've polished your nails to perfection, avoiding any bubbles, you may want to enjoy them for a while before having to do it again. There are some ways to keep your nails looking their best for longer.
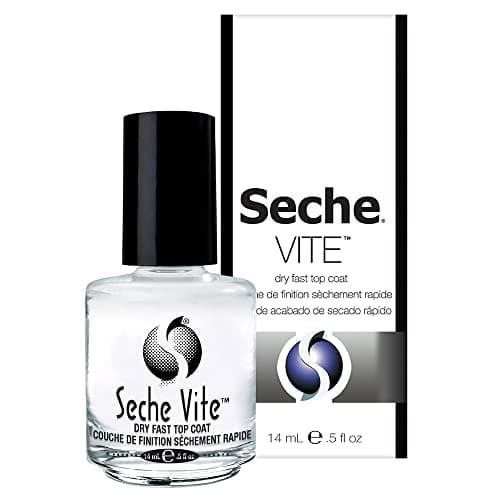
1. Use The Right Top Coat
While looking for a long-lasting and chip-resistant top coat may seem like common sense, remember that not all top coats are created equal.
Some may focus more on shine than protection. Higher-quality top coats will better protect the polish on your nails and your nails themselves.
2. Choose A High-Quality Polish
Like with the top coats, some nail polishes are better than others. Again, look for a high-quality polish that is long-lasting. You can also use gel polish to make your manicure last longer.
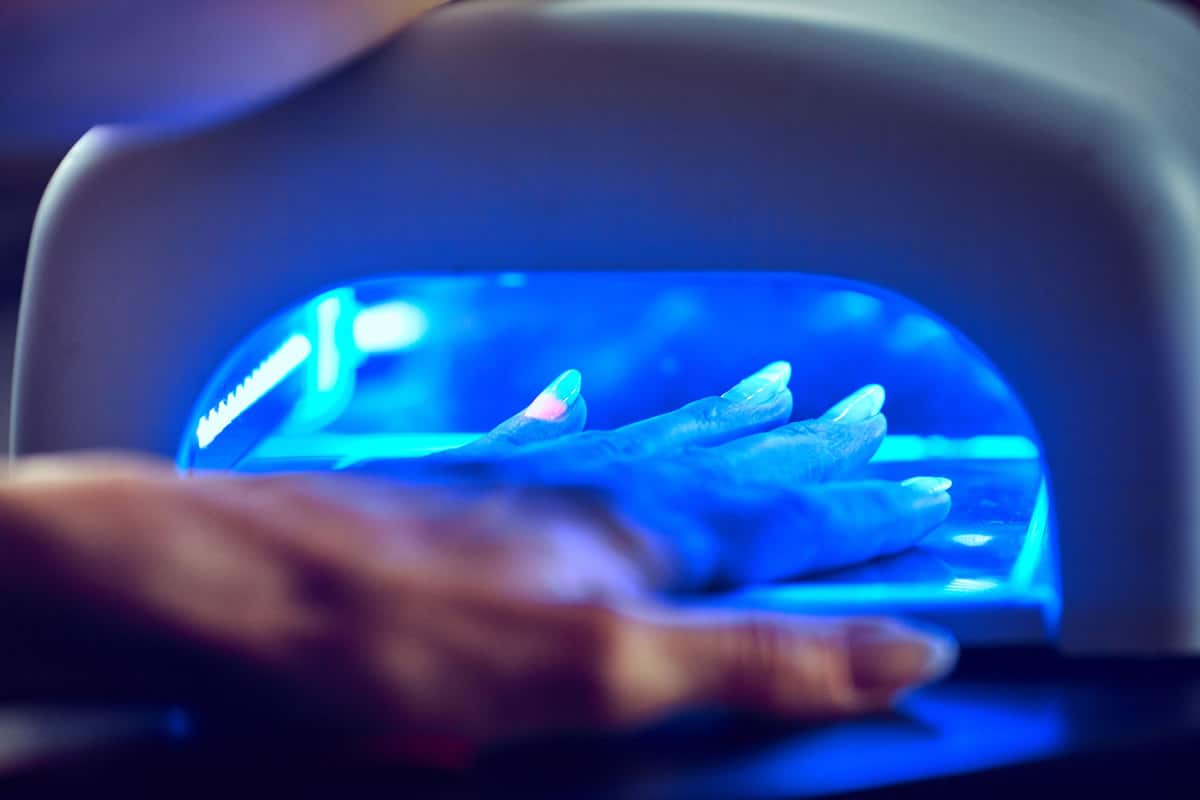
Keep in mind that gel polish is an investment, though. While some gel polishes are set on their own, many need to be cured under UV light.
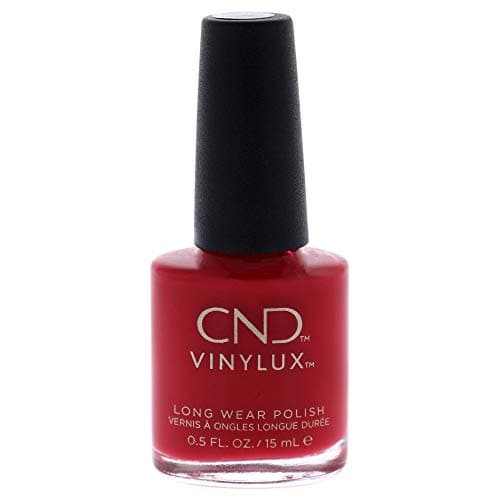
View this long-lasting polish on Amazon.
Increase your nail care expertise by taking a look at this article, "23 Types Of Nail Polish And Finishes."
3. Let Your Nails Fully Dry
Take the time to ensure that your nails are completely dry before going about your day. If your nails are even slightly sticky, you are at a higher risk for damage to your polish. If you are in a rush, use a nail dryer or ice water to hasten the drying process.
Nail Care Insights
Bubbles in nail polish are typical but avoidable. Use quality products and apply them carefully to lessen bubble formation. Pre-manicure pampering can lead to smoother application and healthier nails.
Spread the info and pin this post's image below on your social platforms so more people can enjoy these tips.