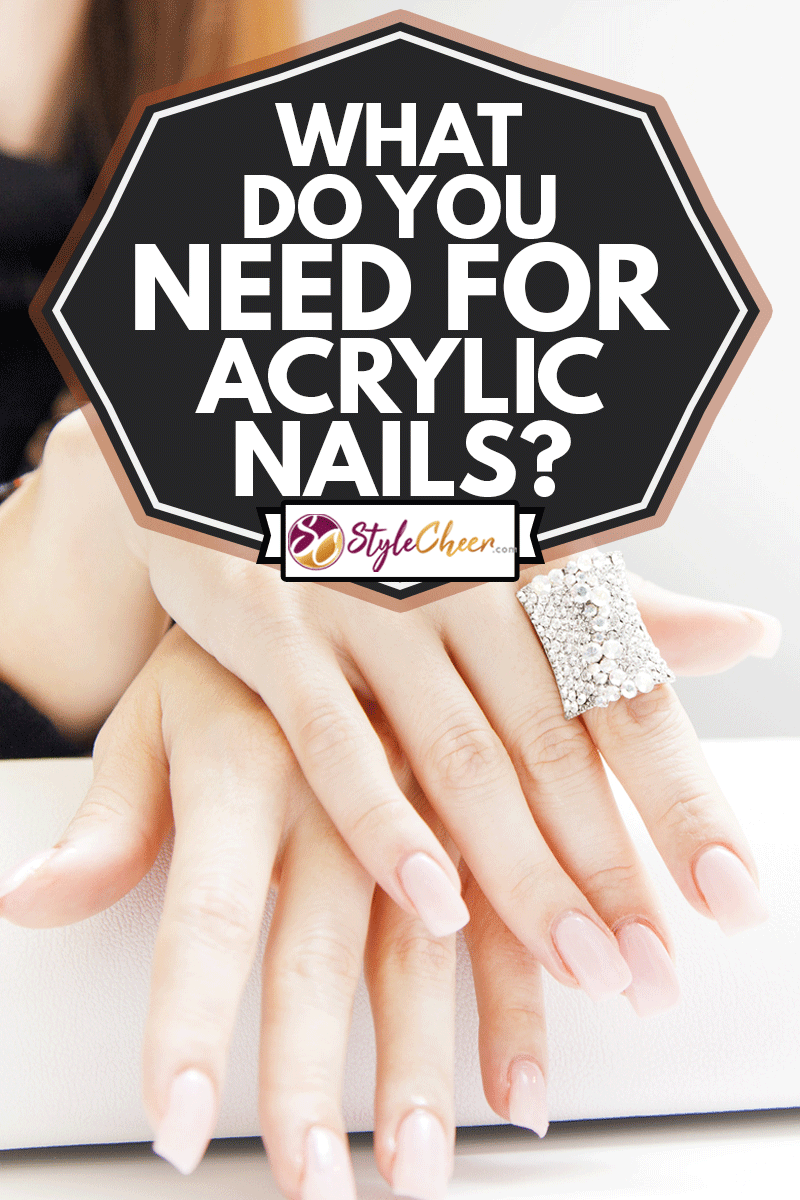
Acrylic nails, a long-time favorite in salons for their durability and versatility, are not just a fashion statement but also a canvas for creativity and self-expression.
With their customizable nature, more and more people are drawn to try their hand at creating unique designs themselves.
If you're curious about taking the plunge into DIY nail art, here's what you'll need:
- Acid-Free Nail Primer
- Acrylic Nail Brush
- Acrylic Liquid
- Acrylic Powder
- Cuticle Pusher
- Dappen Dish
- Lint Free Wipes
- Nail File/Buffing Block
- Nail Prep/Dehydrator
- Top Coat
Some things are optional, including:
- Cuticle Oil
- Manicure Brush
- Nail Glue
- Nail Tips
- Pinching Tool
- Pure Acetone
It may seem like a lot of materials, but having these on hand to apply acrylic nails at home can save you money in the long run. For more details on how to use each tool and the steps for using them to apply acrylic nails, keep reading.
Tools and Materials

This article may include affiliate links and elements that were carefully created by our team using advanced ai to help you envision the best style advice.
The following tools and materials are must-haves for doing your own acrylic nails at home. These materials will give you the supplies needed to apply multiple sets of acrylic nails for only the up-front costs.
Some materials can be bought as a set or purchased individually, but all of these materials should be used if you want the best-looking acrylic nails when finished. They can be purchased at any beauty supply store or on Amazon.
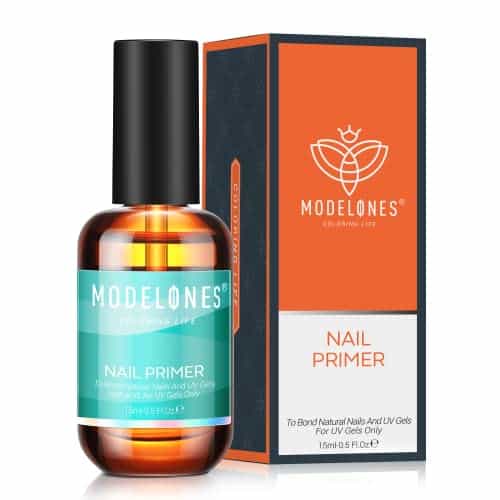
Acid-Free Nail Primer
Acid-free nail primer is used to prepare the nail surface. It works by creating a barrier between your natural nails and acrylic nails so that the acrylic nails will stick better and last longer.
It also keeps your natural nails from getting damaged when acrylics are removed.
To use an acid-free nail primer, you'll apply a small amount to the middle of your nail and spread it along the edges. If you use too much, the nail will not dry completely, and the surface won't be adequately prepared.
The nail surface should have a matte finish after the primer has dried.
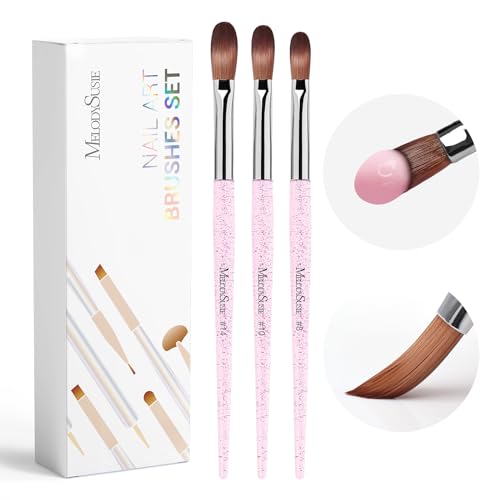
Acrylic Nail Brush
An acrylic nail brush is a brush that is used to apply the product to the nail. These brushes have a pointed and exact end to ensure the product can be spread to all parts of the nail, including near the cuticles and edges.
The bristles on the brush should be straight and close together to work correctly. A too-bushy brush is hard to control and will spread the product everywhere.
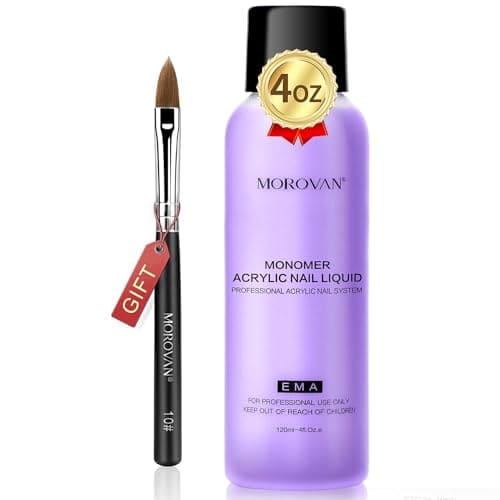
Acrylic Liquid
Sometimes called a liquid monomer, the acrylic liquid is a liquid that is mixed with acrylic powder and applied to your nails with an acrylic nail brush.
The liquid helps the acrylic powder stick to your nail bed. In addition to helping acrylic nails stick longer, acrylic liquid helps prevent the color from chipping and gives your nails a polished finish.
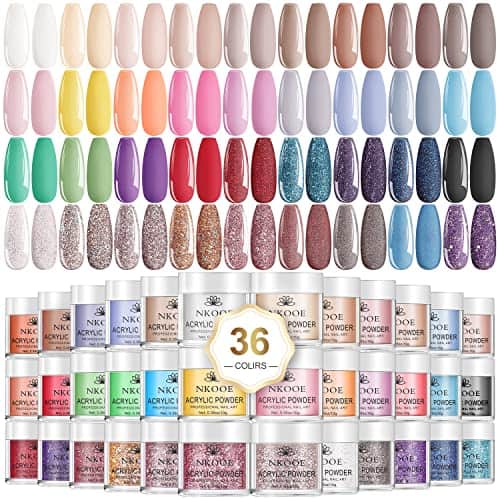
Acrylic Powder
Acrylic powder is mixed with acrylic liquid and painted onto your nails with the acrylic brush. The powder and liquid should be mixed in small amounts to form little blobs and applied to the brush for painting.
If you use plain acrylic powder, you can paint over it with whatever nail polish you like. However, you can also purchase acrylic powder in different colors. Some even have glitter in them, like this set we found on Amazon.
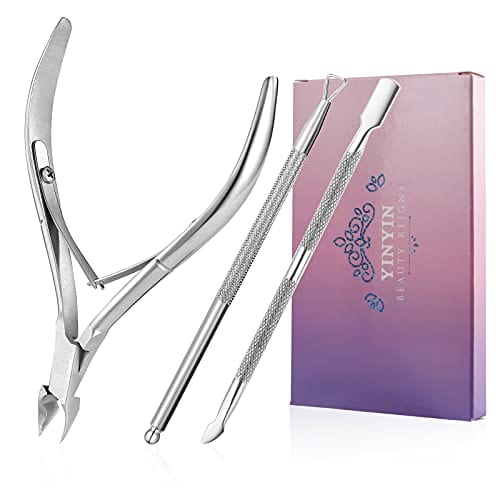
Cuticle Pusher
A cuticle pusher is a small metal or plastic tool that is used to push back your cuticle. The cuticle is the skin that is near the bottom of your nail.
Pushing your cuticle back helps your nails to grow stronger, and it also allows you to clean the nail's surface under the cuticle so that manicure products can be applied evenly and consistently.
This cuticle pusher from Amazon is a real bargain—it even includes a trimmer.
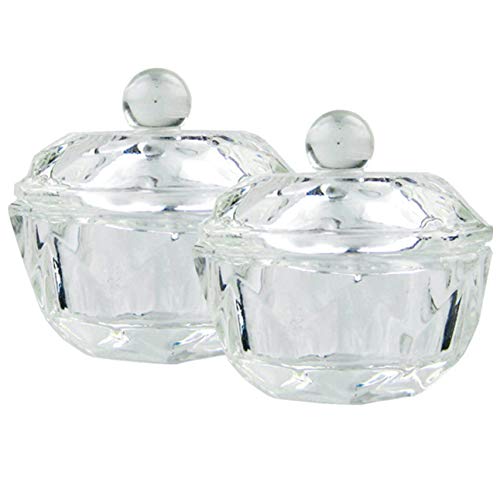
Dappen Dish
A dappen dish is a small glass that is used for mixing substances. In applying acrylic nails, a dappen dish is used to mix the acrylic liquid and acrylic powder.
It can also be used to hold small amounts of other manicure products, such as nail primer. Dip your acrylic brush into the dish to get the right amount of substance needed for each nail.
Lint Free Wipes
Lint-free wipes dipped in nail polish remover are used to remove any old nail polish on your nails before applying acrylics. Wipe the entire nail to make sure that any old nail polish or dirt is removed.
Lint-free wipes will not leave behind lint or other residues, which could affect how well the acrylic products stick to your nails.
Nail File/Buffing Block
Nail files are used to file down and even out the edge of your nail. They can shape the edges of your natural and acrylic nails and can also be used to make your natural nails shinier.
Nail Prep/Dehydrator
A nail prep or a nail dehydrator is applied before the nail primer. It is used to cleanse the nail and remove oil and grease.
If your nails have too much oil or grease on them, the nail primer won't adhere to your nails, which might affect your acrylic nails' overall look or cause them not to last as long.

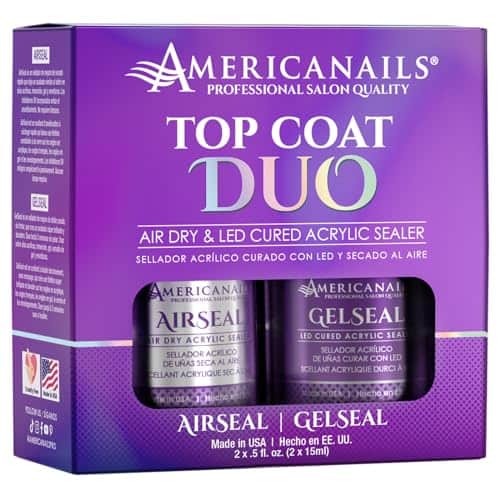
Top Coat
The topcoat is applied to the nails last. The purpose of a topcoat is to seal the acrylic and keep the color from chipping. Topcoats can also give the nails a matte or shiny finish.
There are two main kinds of top coats: air-dry and gel. Gel top coats are shinier than air-dry ones and often last longer.
Optional Materials
The following tools are not required but can be used under certain circumstances or if you want a particular look.
- Cuticle oil- used to moisturize and soften your nails and cuticles.
- Manicure brush- used to remove dirt from the nails and around cuticles.
- Nail glue- used to apply nail tips, help acrylics stick better or apply decorative accents.
- Nail tips- used to make nails longer or give them a particular shape before applying acrylics.
- Pinching tool- used to give nails a more natural, curved shape.
- Pure acetone- used to remove primer, polish, and topcoat from nails.
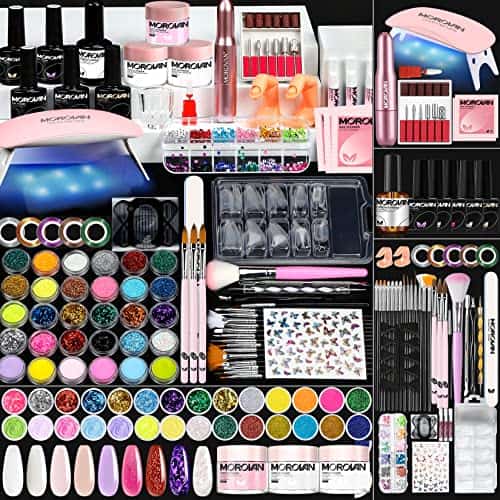
This acrylic kit has everything you need. Click here to see it on Amazon.
How to Apply Acrylic Nails at Home
Now that we have all the needed materials, let's walk through the step-by-step process of applying your acrylic nails right at home.
Prep
- Use a lint-free cloth dipped in acetone to remove any old nail polish.
- Trim, file, and buff your natural nails.
- Push your cuticles back.
- Use nail prep/nail dehydrator.
- Apply nail primer and let it dry.
Apply Acrylics
- If you use nail tips, glue them to your nail so the bottom edge is centered about halfway down. Cut them to your desired length.
- Mix the acrylic liquid and powder.
- Load the brush with the liquid and powder mix.
- Apply the acrylic mixture to your nails.
- Let the acrylic dry.
Watch this video to learn how to apply acrylics.
Finish the Nails
- Use a coarse nail file to file and shape the tips.
- Paint your nails and apply a topcoat.
For a step-by-step guide on how to change your acrylic nail color at home, check out our detailed tutorial here.
Do You Need A Lamp To Do Acrylic Nails?
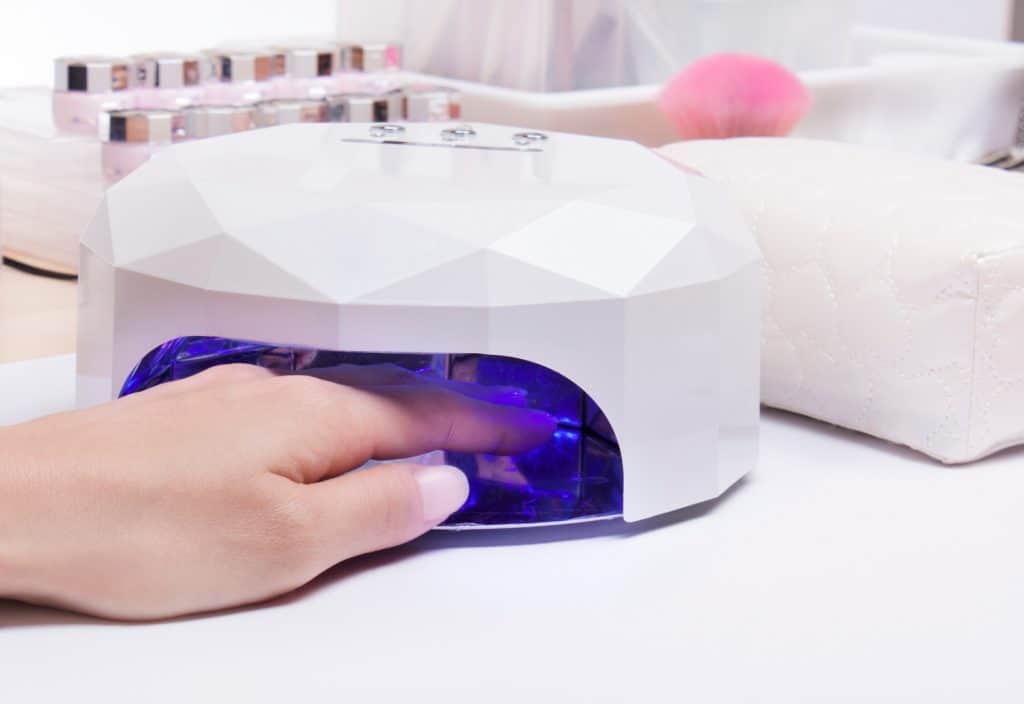
Acrylic nails do not require a lamp to dry. They can be air-dried, but a lamp can speed up drying. Two kinds of lamps are commonly used for nails: LED lamps and UV lamps.
LED lamps are faster, typically curing polish in about 30 seconds to a minute, while UV lamps can take a bit longer, usually around 2 to 3 minutes.
UV lamps are often less expensive than LED lamps and are compatible with all gel polishes, which makes them a versatile option for those who use a variety of nail products.
On the other hand, LED lamps tend to be more specific in the types of gel polishes they can cure, as not all formulations are compatible with some formulas specifically designed to be cured only with LED light.
What Lasts Longer: Acrylic Or Gel?
With proper maintenance, acrylic nails can last up to two months.
Because nails don't stop growing, you must fill in acrylics every couple of weeks if you don't want gaps to show; even with proper maintenance, gel nails usually only last about 2 to 3 weeks.
Check out How Often to Get a New Set of Acrylic Nails for more detailed guidance on maintaining your acrylic nails.
Do Acrylics Ruin Your Nails?
According to Mayo Clinic, artificial nails like acrylics shouldn't harm your nails as long as they are healthy.
However, when nails grow and a gap between the acrylic and natural nail forms, nails can become infected due to bacteria or fungi that can live and grow in the gap.
That's another good reason why properly maintaining your acrylic nails is important.
Your Journey to Beautiful Acrylic Nails Starts Here
We hope this article gave you information about the materials required to apply acrylic nails at home.
While the materials may seem expensive upfront, you'll save money in the long run because you won't have to visit a salon regularly to maintain your nails. Soon, you'll be on your way to creating beautiful acrylic nails. Thanks for reading!
Bookmark this handy checklist for everything you need to perfect your acrylic nails at home, and share the inspiration with your style-savvy friends!