
Acrylic nails are trendy, but changing the polish often can be expensive. Why not learn to do it yourself? We've put together a straightforward guide on how to change the color of your acrylic nails safely.
This article may include affiliate links and elements that were carefully created by our team using advanced ai to help you envision the best style advice.
It's important to handle the polish change carefully to avoid damaging the acrylic or your cuticles. Follow our step-by-step process to refresh your nails effectively and safely.
Steps To Change Acrylic Nail Color
Things you'll need:
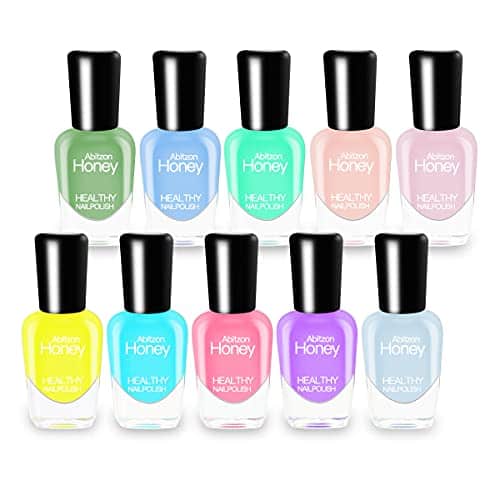
- Nail polish
- Nail top coat polish
- Cotton swabs
- Cuticle stick
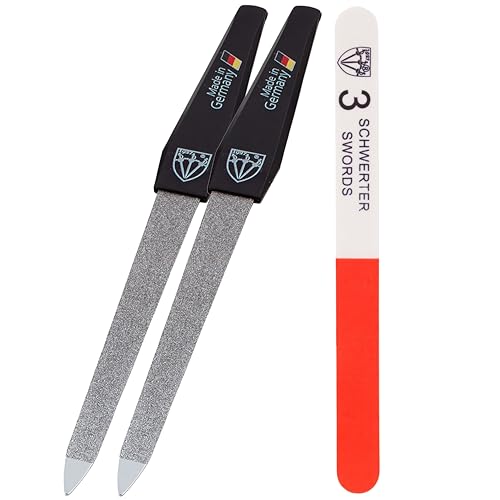
- Fingernail file
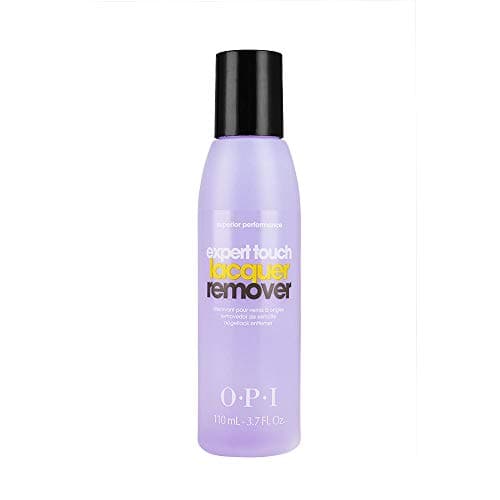
- Acetone-free nail polish remover
1. Remove the old nail polish
You'll need to remove the old polish first before polishing your acrylic nails with a new color. This only takes a matter of minutes and is relatively easy, especially when it's already beginning to chip away.
But know that even if the old nail polish has mostly worn off, you will still need to completely remove any remnants of polish to ensure a nice finish when you put on the new coat.
Start by dipping your cotton swab in the nail polish remover and then rubbing the swab on your thumb. It's always good to start painting with the thumbs, as you'll want them to dry faster to avoid nicks and dents.
Vigorously rub the nail polish remover over each finger until the old layers of polish are completely gone. Once you finish with one hand, start on the next hand, going finger by finger, removing the old layers of polish.
For detailed methods on removing acrylic nails entirely, consider reading our article "6 Ways To Take Off Acrylic Nails." This guide will provide additional insights and tips for nail care.
2. Clean and dry the acrylic nails
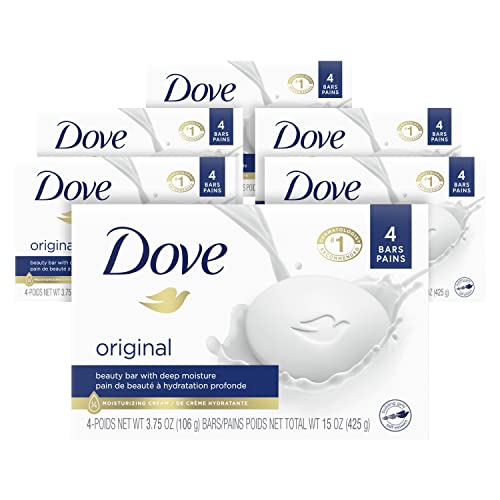
After removing the old nail polish from both hands, clean your hands with baby wipes or wash them with mild soap, such as Dove. Do not use any harsh solutions or chemicals on your hands before applying the new layers of polish.
Make sure to dry your nails thoroughly after washing them, as you don't want any moisture on the acrylic--it can affect the bonding ability of the new layers of nail polish.
Moisture layers between the nail polish and the acrylic can also lead to infection, so don't forget this step.
3. Apply a base coat
Take your new nail polish bottle and gently agitate it to mix up the base coat. Next, dip the brush in the nail polish and apply it to the thumb of your other hand.
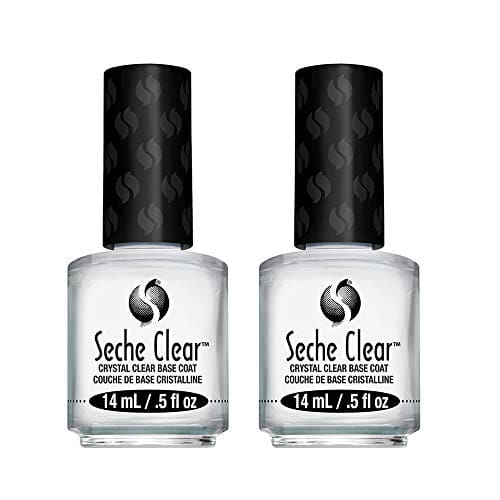
Be sure to wipe any excess polish on the side of the nail bottle and apply a thin layer to your thumb (applying the base coat too thickly will cause it to create air bubbles and chip off prematurely).
Start the base coat at the back of the nail bed toward the cuticle and slide the polish stick to the top of the nail edge. Once you finish with one hand, start on the next hand, going finger by finger, applying a single layer of base coat to each finger.
Next, allow the first layer of polish to dry for 1 to 2 minutes, and then apply another coat to both hands in the same order as you did the first coat.
For options on what to use as a base coat or to explore homemade base coat alternatives, check out the article "What Can I Use As A Base Coat For Nails?" which offers a variety of solutions to enhance your manicure.
4. Apply 1 to 2 layers of new polish
Wait about 5 to 7 minutes for the base coat to dry and ensure that it is not wet before applying the nail polish. Once it has dried, take your nail polish bottle and gently agitate it to mix up the solution.
Next, start on the same hand that you first applied the base coat and apply a nail polish coat to your thumb.
Then work your way to the other fingers and eventually the other hand, applying a single thin coat of nail polish to each one. After 1 to 2 minutes, apply another thin coat of polish to both hands, making sure to avoid applying the nail polish on top of your cuticles.
This is a time when you can get creative with your nail designs, including painting the tips in different colors using more than one color or drawing eye-catching designs on your acrylics.
5. Apply 1 to 2 layers of a topcoat
Lastly, apply a topcoat layer to your thumb and then to the remaining fingers on your hand. Next, apply the topcoat to your other hand and allow it to dry for one to two minutes before placing an additional coating on both hands.
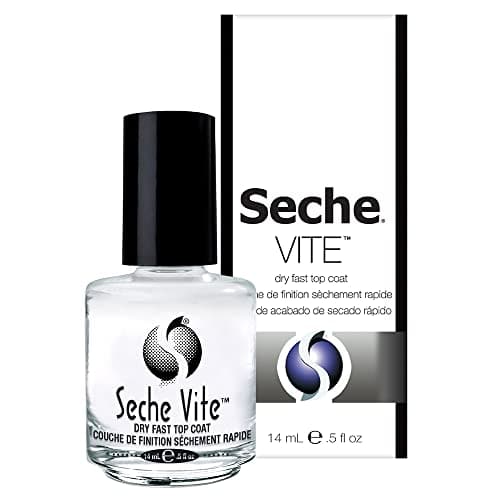
Topcoat adds extra shine to the acrylic nails and prevents the nails from easily chipping and developing dents.
Can You Paint Over Grown Out Acrylics?
Yes. You can definitely paint over your grown-out acrylic nails, except for colored acrylics. Be sure to remove any nail polish before applying a new coat to the acrylic nails. Your nails should be clean and dry before applying the initial base coat.

It's best not to use acetone-based nail removers, as they are fairly harsh on acrylic and natural nails. You can also file down the top surface of the acrylic nail to help the nail polish adhere better.
However, if you are only looking to strengthen your natural nails, you can add a bit of acrylic over the nail polish—especially if you don't want to file them.
How Long Does It Take For Nails To Get Stronger After Acrylics?
If your natural nails have become dry, brittle, or damaged from overusing acrylic nails, it can take them anywhere from two to four months to return to their natural, healthy state.
It also depends on how often you wear acrylic nails. Here are a few ways to help rejuvenate your natural nails when taking off acrylics.
Apply nail strengthener
Applying a nail strengthener every one to two weeks can help your nails come back to life faster. You can apply it directly to the nails like a polish or apply it over nail polish to use it as a solid topcoat.
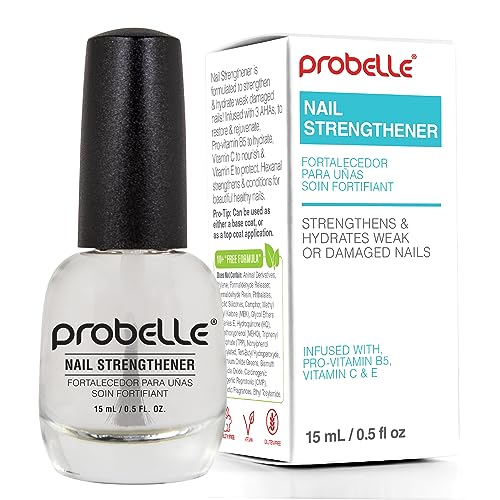
For the best results, reduce your application of the strengthener to weekly, at least for one to two months.
Cut them off
Once you remove your acrylic nails, you may notice that your natural nails are a bit thinner than normal. To prevent them from breaking, trim them to a manageable length so they can grow stronger.
You can use fingernail clippers to do this, but it's always best to use a nail file to keep the edges as smooth as possible.
Hydrate them
Keeping your nails and hands hydrated is especially important when your nails are damaged or weakened. When you put on lotion, make sure to rub it into your cuticles to help them stay moisturized--drinking six to eight glasses of water is also helpful.
Shape them
While it can be fun to shape your nails and fun or creative ways, the shapes are oftentimes pretty unnatural. The best way to shape your nails is to allow them to grow naturally and quickly without breakage and cracks.
Buff them
Try to buff your nails every week. Start by removing oil from your nails using rubbing alcohol or a bit of acetone--you can also use distilled vinegar. Use small circular motions to gently buff the top of your natural nails until they are smooth.
Be sure not to go overboard, as you don't want to thin the nails during the process. Also, you'll want to do this no more than once every one to three months, as doing it too often can remove some of your nails' thickness, which would be counterproductive.
Will Acrylic Nails Fall Off On Their Own?
Yes, at some point, your acrylic nails will naturally fall off. This typically happens when the nails have been on for an extended period of time.
Acrylic nails come with a given life span, as the acrylic glue will naturally become weak or dissolve at some point. The nails can also come off prematurely due to poor application, adhesion, maintenance, or glue quality.
Concluding Nail Color Tips
We hope this guide has helped you understand how to repaint your acrylic nails successfully. Always remember to completely remove the old polish before applying a new coat to avoid a lumpy, chipping finish. What color will you try next?
Share this post with your network by pinning this image below to your social media, helping others find these tips.
![A woman showing her violet colored vinyl nail polish, How To Change Acrylic Nail Color [5 Steps]](https://stylecheer.com/wp-content/uploads/2021/02/How-To-Change-Acrylic-Nail-Color-5-Steps_1-683x1024.png)