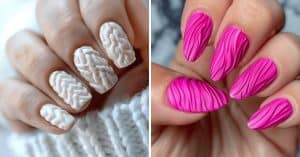
Ever wondered how much you could save by filling your acrylic nails at home? Keeping your acrylic nails looking their best means scheduling regular fill-ins.
While many go to salon visits every two weeks or once a month, managing these appointments can quickly add up in terms of both time and money. But what if you could achieve salon-quality results from the comfort of your own home?
If you're tired of the routine trips to the salon and are ready to take control of your nail maintenance, you've come to the right place. Below, we've compiled the steps to fill your acrylic nails using powder and gel quickly and safely:
Using acrylic powder—
- Remove previous nail polish
- Wash your hands
- Apply nail primer
- Set up your acrylic
- Apply the acrylic to your nails
- File the acrylic nails
- Polish the acrylic nail
Using gel polish—
- File the old nail down
- Buff the nail
- Wash your hands
- Apply nail primer
- Cure the primer
- Apply gel nail polish
- Dry the nails
When you get a new set of acrylic nails, you want them to last as long as possible. So, you must perform excellent prep work on your natural nails and apply the acrylic nails using the best techniques.
Continue reading to learn more about these techniques.
Steps To Fill Acrylic Nails
Follow these simple and effective steps to achieve professional-looking acrylic nails right at your home:
Using Acrylic Powder
Things you'll need:
- Fingernail clippers
- Acrylic liquid monomer
- Acrylic nail tips
- Nail file
- A bowl
- Nail dehydrator
- Nail glue
- Applicator brush
- Nail primer
- Acrylic powder
1. Remove old nail polish
Remove any old nail polish before you fill in your acrylic nails (if applied previously). Soak a lint-free nail wipe in a nail polish remover and gently rub it over each nail, starting at the base.
Ensure that all residue is thoroughly removed to maintain the integrity of the new acrylic application.
This article may include affiliate links and elements that were carefully created by our team using advanced ai to help you envision the best style advice.
2. Wash your hands
Use antibacterial soap to wash your hands and nails, removing traces of polish, remover, and natural body oils. Use a lint-free nail wipe again to thoroughly dry your nails before proceeding further.
Remember, your nail bed should be as dry as possible before applying the fill. Dryness is also important to keep the nails from getting infected after applying the acrylic.
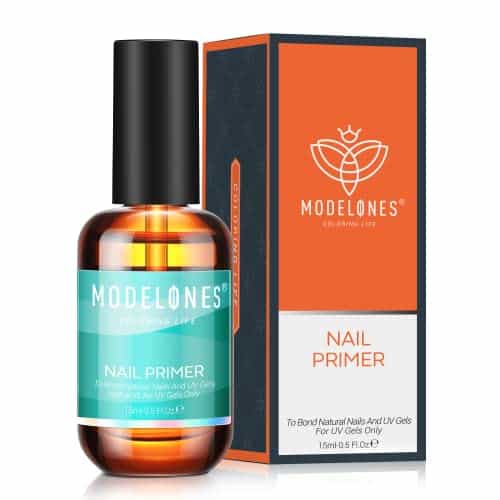
3. Apply nail primer
Next, apply a coat of primer to your nails. To do this, dip your applicator brush into the primer and swipe a small drop over the area where the natural part of your nail shows. Once the primer has dried, add one or two additional coats.
It's important to apply the primer to the nail beforehand so that the new coats of polish will have a solid bond.
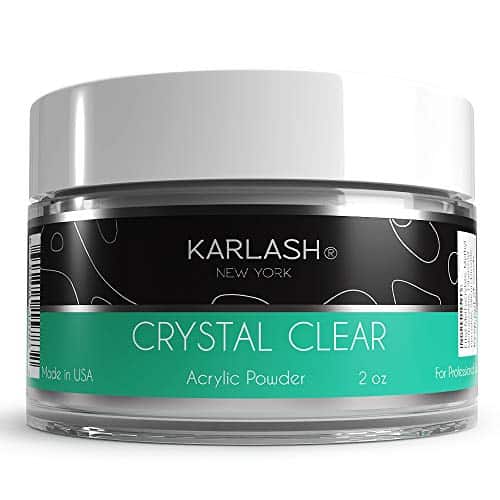
4. Set up your acrylic
Grab a small bowl and pour about 1/4 cup of acrylic liquid into it. Take another bowl and pour the same amount of acrylic powder into it.
Next, grab your applicator brush and dip it into the acrylic liquid. Then, dip the brush into the acrylic powder about three to four times until it turns into a paste.
5. Apply the acrylic to your nails
Now, take the small ball of paste and apply it to your thumb first, right below your cuticle. Next, gently dab the brush downward, spreading the paste across your natural nail and onto the acrylic nail.
Be careful when performing this step, as you will want to spread the paste evenly across your nail. Reapply the paste as needed to cover the entire nail bed.
Use the nail brush to fill in the sides of the nail until they are completely covered with the paste. Take a cuticle stick and then gently scrape off any mixture that has gone above your cuticle on the sides of your nail bed.
Be careful of applying too much of the acrylic mixture, as you don't want it to peel off once it dries. If you cannot remove the mix from your nail's sides, you can use a polish remover to dissolve it and wipe it away.
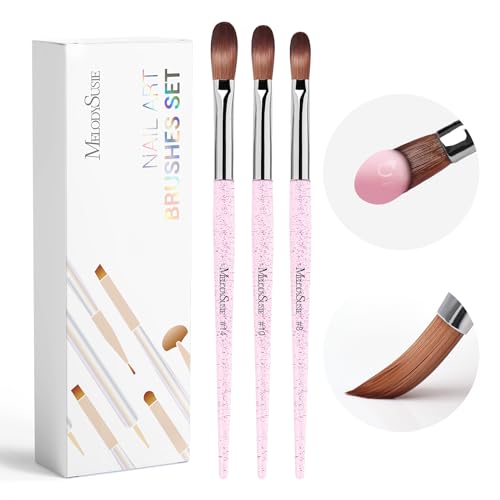
Learn more about this acrylic nail brush on Amazon.
Want to experiment with different colors on your acrylic nails? Find out how with our step-by-step guide here.
6. File the acrylic nails
It's time to shape the nails. Take your nail file or a buffer and run it over the acrylic layer you have just applied. You'll want to make sure that it is flush with the rest of the acrylic tip.
7. Polish the acrylic nails
Grab your nail polish and apply anywhere from one to three coats. Be sure to let each coat dry before applying the next coat, which can take 10 to 15 minutes.
If you're thinking of using a UV or LED lamp to speed up the drying process for your acrylic nails, it's important to know that this won't be effective.
Acrylic nails do not require or react to UV or LED light for curing as acrylic nails set and harden through a chemical reaction that does not require light.
However, for gel polish applied over acrylic or natural nails, curing under a UV or LED lamp is essential for the gel to set properly (more on this later).
Using Gel Polish
Follow the steps below to achieve a flawless gel polish application.
1. File the old nail down
If you have previously applied gel polish, start by filling down the top layer of your nails. This top layer of gel should come off fairly easily; a 150-grit nail file can get the job done quickly.
2. Buff the nail
Carefully buff the gel nail to create a smooth, even surface that is level with the rest of the natural nail. Next, take a fine-grit buffer or nail file and run it over the gel nail right at the top where it touches your natural nail.
Make sure that the area where it meets the nail is smooth and that there is no bump.
3. Wash your hands
Next, wash your hands with antibacterial soap and then dry them with a lint-free cloth. Afterward, take a cotton swab and dip it in rubbing alcohol.
Apply the alcohol to your nails to get rid of any remaining oils or dust. This will help to create the ideal surface for the new coat of gel.
4. Apply nail primer
Now, grab your nail brush and apply primer to each nail. Make sure not to over-apply the primer, as it can cause the gel to peel off prematurely.
Also, make sure not to place the primer on top of the cuticle but in the center of the nail bed where the gel meets the natural nail, then spread it across the entire nail bed.
5. Cure the primer
After you have applied the primer to your nails, let them sit under a UV light for about one minute for it to cure. If you don't have a UV light, you will need to give the primer a few more minutes to cure before applying a second coat.
6. Apply gel nail polish
Once the primer has cured completely, apply your first coat of gel nail polish. Use your applicator brush to glide it over the dried gel and allow it to dry before applying additional coats.
You'll want to make sure that you apply the nail polish thinly so that it will not peel off prematurely.
You'll know that each coat is dry when the surface is no longer tacky or sticky. Use your cuticle stick with nail polish remover to remove nail polish from the edges of your nail or cuticle. Apply anywhere from one to three coats.
7. Dry the nails
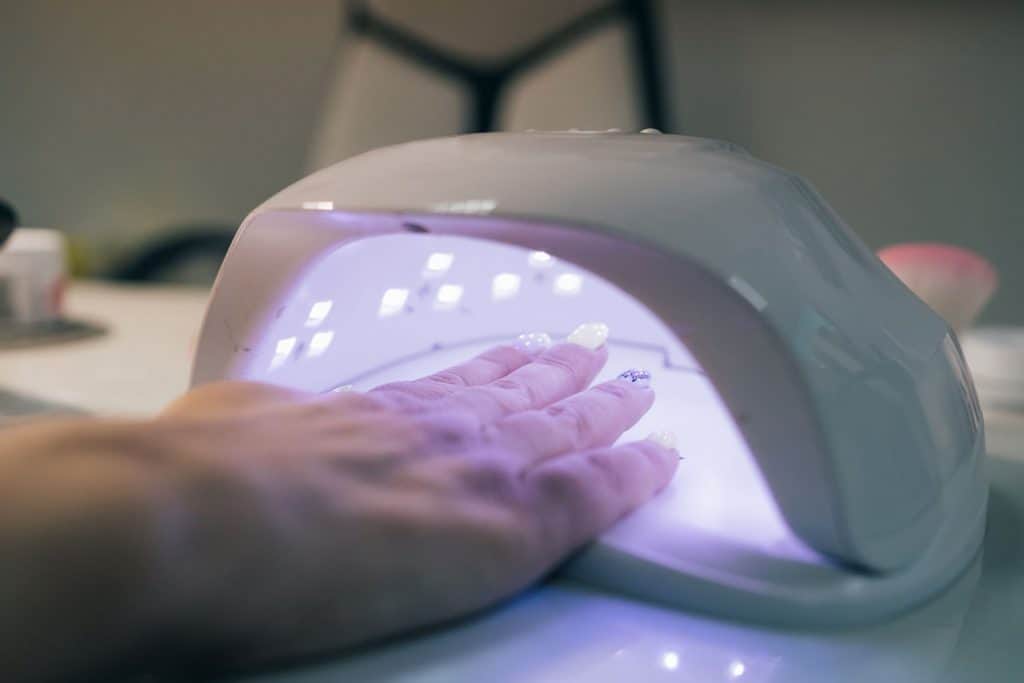
After applying the final coat of traditional gel nail polish, you must cure your nails under a UV or LED light. This curing process typically takes a few minutes per coat, depending on the specifications of your lamp and the type of polish used.
Air drying is not effective for gel polish as it won’t harden without light exposure - a typical misconception.
There are, however, some newer formulations of gel nail polish that are marketed as "air-dry" and do not require a lamp for curing. These products are different from traditional gel polishes and are designed to harden without UV/LED light.
But for most gel polishes, especially those that promise a long-lasting manicure, access to a UV or LED lamp is essential for proper application.
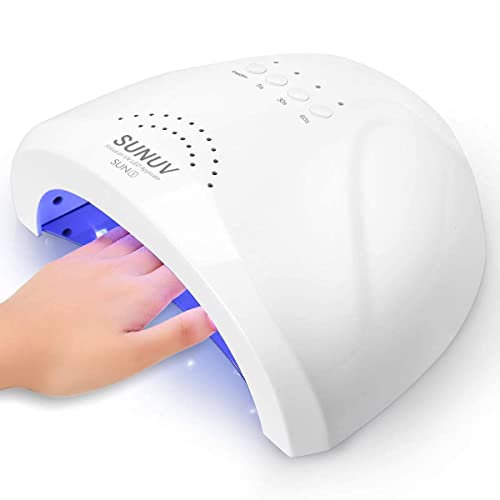
See this nail dryer on Amazon.
Can You Just Keep Filling Acrylic Nails?
While it is possible to get fill-ins for several weeks, at some point, you will need to take them off and have them reapplied.
This is because your natural nails will eventually outgrow them, causing the acrylic to slide further and further down the nail.
At some point, the acrylic layer will be shorter than the nail bed, making a fill-in unnecessary. Your nail technician can help you determine when your nails are due for a new application.
Have your acrylic nails been lifting unexpectedly? Learn how to prevent this by visiting our detailed guide.
How Do You Know If You Need A Fill Or A New Set?
Acrylic nails can be filled in several times before the tips need a complete replacement.
You will know that the tips are due for a replacement when the fill-in area takes up the majority of the nail bed and the acrylic tips are barely hanging on the edge of the nail.
At this point, the acrylic tips may fall off themselves, or they may break off while performing everyday tasks.
Also, if you develop any nail infections or are starting to feel pain beneath your acrylic nails, it may be time to remove them and give your natural nails a little TLC.
Ideally, a refill will only need to be done about every couple of weeks or so; you can go a long time without getting a new set, even months.
Is A Fill Cheaper Than A Full Set?
Yes. A fill-in is typically cheaper than a full set. The normal price range for a fill-in is anywhere from $15 to $45.
In comparison, a full set can cost anywhere from $25 to $65. The reason is that a fill-in process is fairly straightforward and a lot quicker than applying a new set.
Do Acrylics Ruin Your Nails?
Acrylic nails don't necessarily ruin your nails, but keeping them on for long periods of time without allowing your nails time to recover can be damaging.
While natural nails don't need to breathe per se, they can become severely dry and damaged from repeated acrylic nail application.
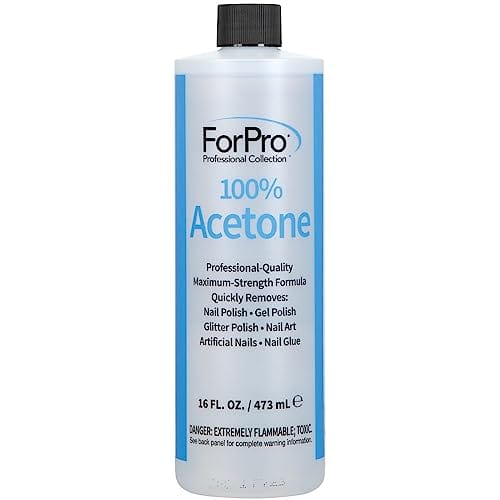
When removing acrylic nails, it's more effective to use an acetone-based remover as it efficiently breaks down the acrylic material. However, it's important to note that acetone can be quite harsh on the nails and skin.
It can cause dryness and irritation, particularly with frequent use. So, it's crucial to use it carefully and moisturize afterward.
Another thing that can damage the nail is the repeated buffing and filing needed during the application process. This can not only seriously damage your nails, but it can leave them parched, brittle, and thin.
So, to keep your nails in the best shape possible, it is best to take a break between acrylic nail applications. This will give your natural nail beds time to recover and rebuild keratin and oil.
Below are a few ways to keep your natural nails strong while you're giving them a break from acrylic nails.
Provide Hydration
Keeping your hands and nails hydrated is particularly important when your nails are damaged or have become weakened from acrylic nail application.
Try to find lotions that have jojoba, avocado, or almond oil and provide your nails with a bit of vitamin E and extra nourishment to keep them healthy.
Trim your nails
After you remove acrylic nails, your natural nails may be brittle and thin. It's best to trim them as soon as possible to prevent them from tearing or breaking off while you perform everyday tasks.
Try to keep them at a manageable length while they grow stronger. And it's always a good idea to keep a fingernail file or clipper candy during this time.
Use nail strengthener
Applying a nail strengthener is also a good way to help restore your nails. Nail strengtheners can protect your nails from everyday wear and tear and should be applied no more than once or twice a month.
Go Ahead, Unleash Your Creativity in Your Spare Time!
Doing your own fill-in can be a fun project to take on when you have some free time on the weekend or during the weeknight after work. Have fun with your nails, and don't be afraid to try new colors and styles.
Keep your nails looking salon-fresh! Share this pin to spread the ultimate guide on refilling acrylic nails.
![Two women showing their acrylic fingernails, How To Fill Acrylic Nails [Gel And Acrylic Powder]](https://stylecheer.com/wp-content/uploads/2021/02/How-To-Fill-Acrylic-Nails-Gel-And-Acrylic-Powder-683x1024.png)