Sometimes, going to the nail salon for a fill-in is too much of a hassle. What if you could do it yourself at home? Luckily, you can!
We've researched the best ways to perform a DIY acrylic nail fill-in. In this post, we'll show you how step by step. Follow along to learn these simple techniques to redo your acrylic nails at home.
Steps To Redo Acrylic Nails
If you have never done your own acrylic nail fill-in before, don't fret. This post will give you all the tips you need to know about properly applying the acrylic so that your nails will look fantastic once you finish.
This article may include affiliate links and elements that were carefully created by our team using advanced ai to help you envision the best style advice.
Things you'll need:
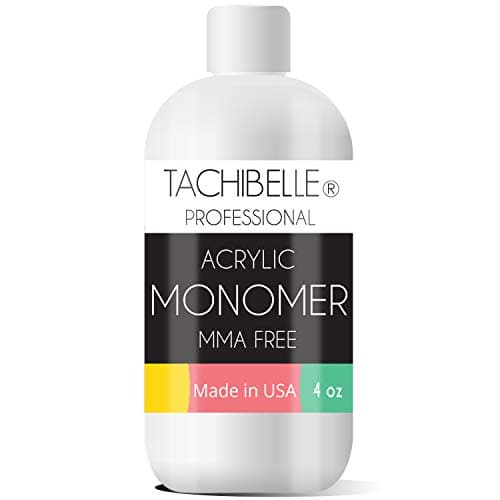
- Acrylic powder & liquid monomer
- A nail file
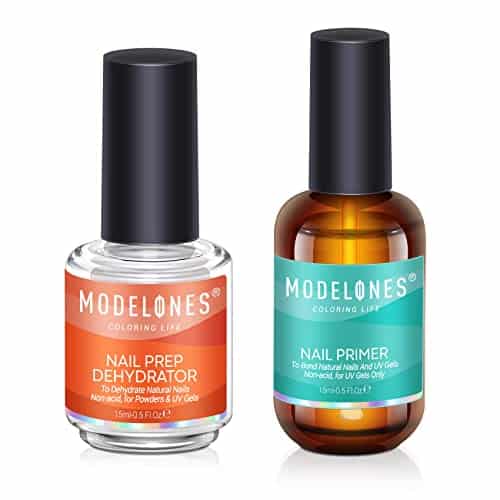
- Acrylic nail primer
- Fingernail clippers
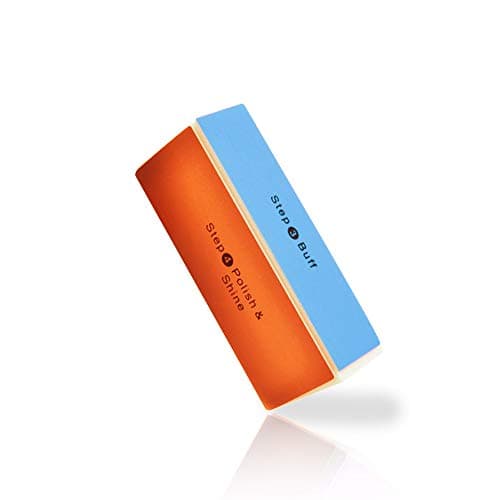
- Nail buffer
- Acrylic nail tips
- Acrylic nail dehydrator
- Nail tip glue
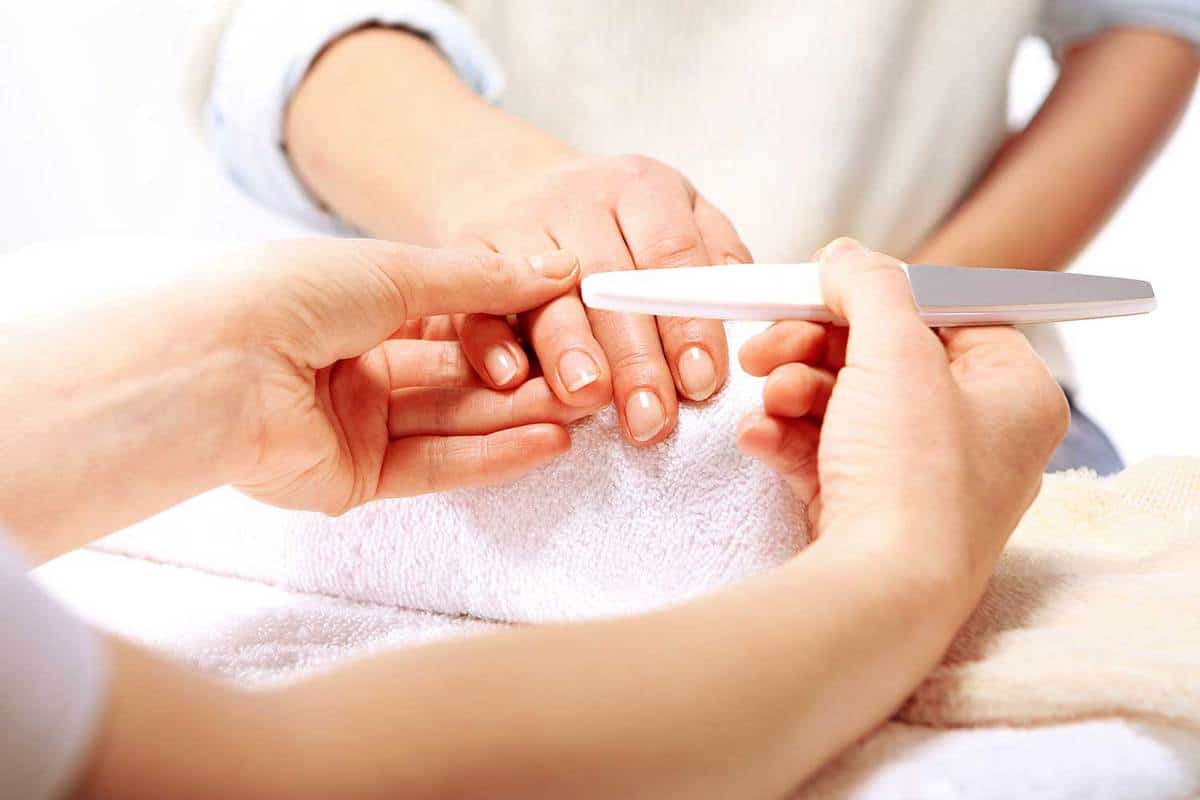
1. Buff the acrylic nails
Take a nail buffer or a fingernail file and buff the acrylic nail at the top near your nail bed. Be sure to thoroughly buff over the area where your natural nail meets the top and of the acrylic. This is where the fill-in acrylic will be placed, so you want the area to be as smooth as possible.
Your nails should be clean and dry before you buff them. This will help prevent bacteria from spreading across your nail bed, which could later lead to infection.
2. Apply nail primer
The primer helps the new coat of nail polish adhere to the nail and the acrylic. Take your bottle of nail primer and gently agitate it to mix up the solution.
Then, apply the primer to your thumb by letting a single drop land on the top of your natural nail. Use the applicator brush to spread the primer across your nail and the acrylic nail.
Be careful not to get the primer on your fingernails or cuticle, as it can cause irritation. Apply one to three coats of primer and let it dry for about five minutes.
3. Combine the acrylic monomer with the powder
Next, pour your acrylic powder into a small container, such as a bottle cap or garnish bowl. Then, grab your acrylic liquid and dip your applicator brush into it.
After doing so, take the brush and gently dip it into the acrylic powder until it forms a small ball of taste on the tip. You may need to repeat this step three or four times to apply a nice-sized bead of acrylic paste to your nails.
4. Apply the acrylic to your nail
Take the bead of acrylic paste and apply it to the natural part of your nail. Precision is an absolute must during this step, as you don't want to waste the acrylic solution and have to start from scratch.
Carefully spread the acrylic across the natural part of your nail using a downward motion that extends to the acrylic nail's top. When applying subsequent beads, always be sure to start at your natural nail base where it meets the cuticle.
Once you have finished applying the acrylic solution to your thumb, move on to applying the fill-in solution to the rest of your fingers and then to your other hand.
Be sure to brush the solution to the edges of your nail so that your natural nail is completely covered. Also, do not apply too much of the paste at once, as it will clump and peel off your nail within a matter of days.
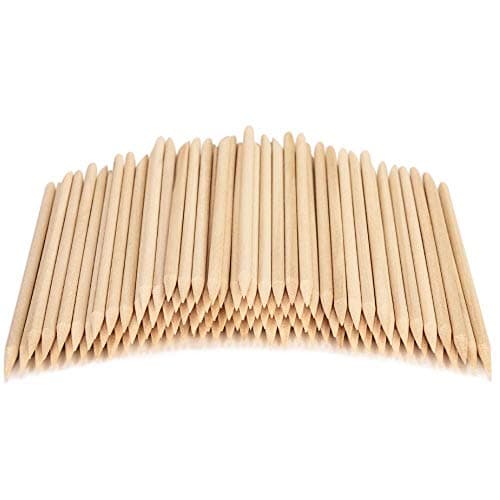
If any of the mixture gets on your fingernails, use a polish remover and gently wipe it away with a cotton ball or a cuticle stick.
5. Dry your nails
After applying the fill-in solution to all of your nails, let them dry for about 10 to 20 minutes. If you have a nail dryer, turn it on, set the timer for 15 minutes, or follow the manufacturer's directions for acrylic nails.
Be careful when turning on and handling your nail dryer. You don't want to accidentally smudge your nails before they have a chance to dry completely.

6. Buff your nails
After your nails have dried, use your nail file or a buffer to smooth out the top layer until there is no bump between your natural nail and the acrylic layer. It should feel completely smooth when you run your finger over it.
7. Apply nail polish
Now it's time to add polish. Take your preferred polish and gently agitate for about 10 seconds to mix up the solution.
Next, apply 1-3 coats of polish to your nails, making sure to spread it evenly over the acrylic. Make sure to let each coat dry before applying the new one.
The drying time will vary depending on the polish and how thickly it's applied, but it can range anywhere from 5 minutes to 20 minutes. Try not to apply the polish too heavily, or it may peel off. Each coat should be thin and even.

8. Apply a topcoat
After you have let the last coat of nail polish dry, apply your topcoat. For this step, you will use the same process that you used to apply the nail polish. Apply one or two topcoat coats to help protect your nails from smudges, scratches, and cracks.
If you'd like to see this process step-by-step, check out this video on how to redo acrylic nails:
How Many Times Can You Fill Acrylic Nails?
There is no limit to the number of fill-ins that you can get for your acrylic nails. It's merely a matter of personal preference.
However, most nail experts recommend getting a fill-in about every two or three weeks. This is usually when you notice a gap forming between your cuticle and the acrylic nail, simply a result of your natural nails growing.
You can have your acrylic nails filled anywhere from three to five times before getting a new set applied.
For guidance on choosing the best products for fill-ins, check out our article, "What Are The Best Nail Fillers For Acrylic Nails?" This will help you maintain strong and beautiful nails with each fill.
How Long Do Acrylic Nails Last?
Typically, a new set of acrylic nails lasts about three to five weeks. However, it depends on how well the nails were applied and how well you maintain them after the fact.
To make your nails last as long as possible, it's best to refrain from activities that may cause them to chip, break, or top off.
If you are new to wearing acrylic nails, this may take some practice, but you will get a feel for how to use your hands while protecting your nails within a matter of days.
Can You Repaint Acrylic Nails On Your Own?
Yes, you can repaint acrylic nails on your own, which is a great way to save money.
First, you'll need to remove any old polish. This can be done using a nail file or buffer. For removing acrylic nails completely, you might find the article "6 Ways To Take Off Acrylic Nails" helpful as a guide to clear the canvas for your new polish gently.
Next, apply your new color. You can find a wide selection of nail polishes at local stores like Walgreens and CVS or online. After painting your nails, apply a top coat to seal in the color and protect them from chipping.
Remember, when repainting your acrylic nails, it's crucial to let each layer of nail polish and the top coat dry completely before applying the next. Applying coats too thickly or not allowing enough drying time can cause the polish to peel off prematurely.
What Nail Polish Remover Is Best For Acrylic Nails?
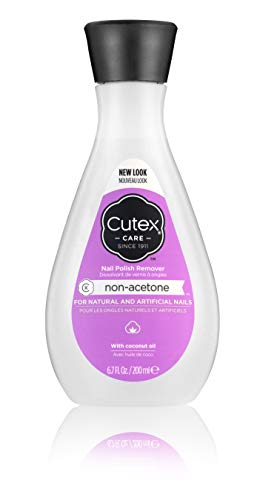
1. Cutex Non-Acetone Nail Polish Remover
Cutex's nail polish remover is one of the best solutions available. It is gentle on natural nails and can quickly remove acrylic nail polish. This is the perfect solution if you have sensitive skin or irritated nails.
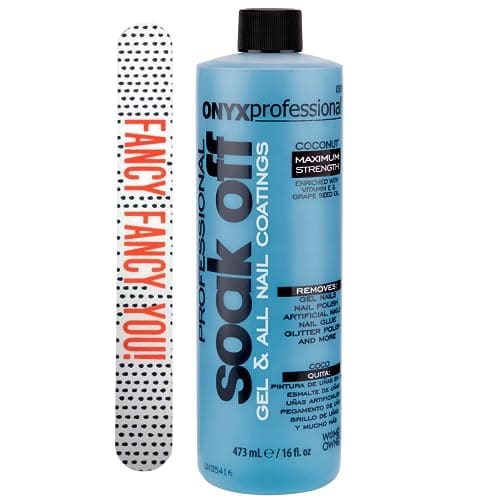
2. Onyx Professional Soak Off Gel Remover
Onyx products are among the most widely used in the health and beauty industry, and this professional-strength polish is no different.
Not only does it quickly break down and remove the polish from your nails, but it also contains grapeseed and vitamin E oil to help nourish your natural nails. You can use it to remove any polish, and it's available at most beauty stores and pharmacies.
3. L.A Colors Nail Polish Remover Pads
Look no further if you prefer to use polish remover pads instead of liquid solution and cotton balls. This nail polish remover by L.A. Colors can help you remove acrylic nail polish quickly and does so without the harsh odor that many nail polish removers may contain.
Though it may take a bit longer than other polishes, it's worth it if you are sensitive to fragrances or looking for a solution that doesn't completely strip your natural nails of moisture during removal.
Can You Let Acrylic Nails Grow Out?
You can let acrylic nails grow out. However, they can become a burden if they are left on for more than six or seven weeks. In many cases, they may break before they even reach this length of time.
As your nail bed grows, the acrylic nail slides further down, making it more prone to breakage and tears, which can be painful. It's best to get your nails re-applied about every three to five weeks.
We hope this post helps you quickly perform your acrylic nail fill-in in the comfort of your home.
Wrapping Up Your Quick Refill
Refilling your acrylic nails at home can be done in just 30 to 45 minutes. You can achieve salon-quality results quickly and efficiently with the right tools and techniques. Follow the guide above to get started and enjoy beautiful, lasting results fast.
Connect and share this post using the image below with your social media friends to help them gain these helpful insights.