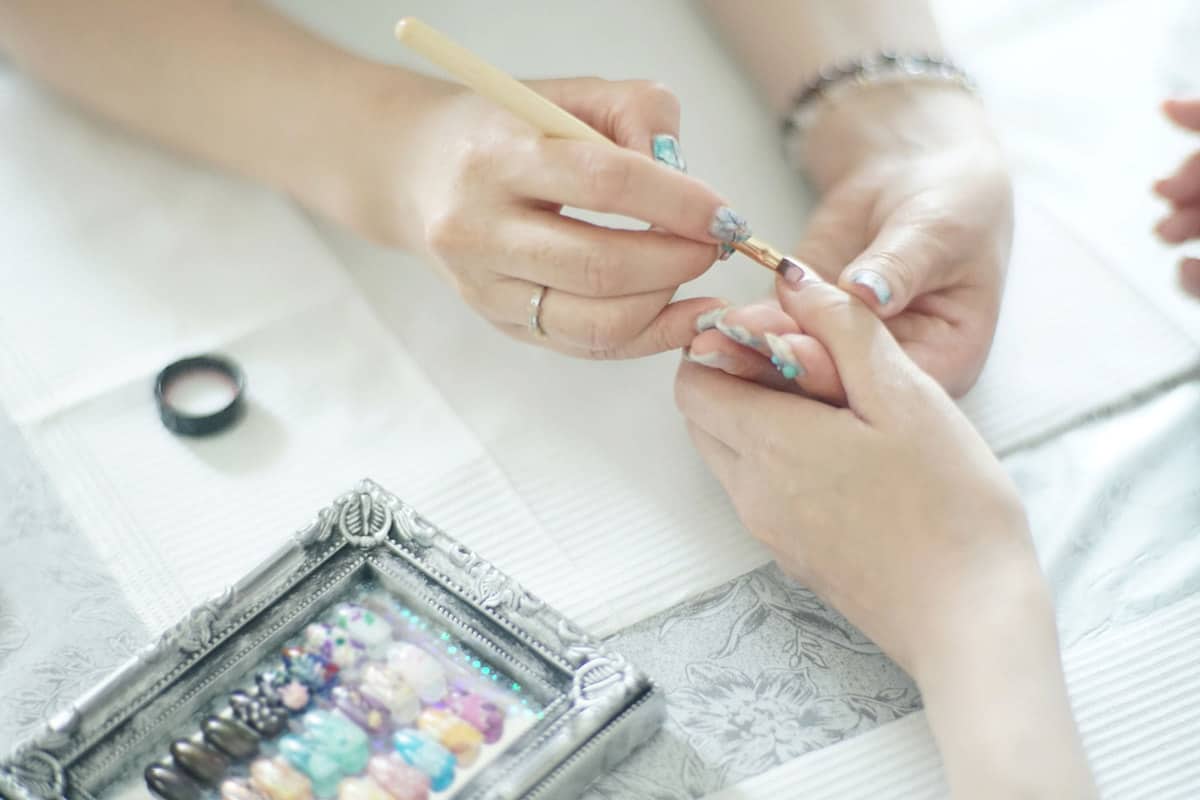
Nail art has become a dynamic field of fashion, where the more extravagant, the better! From tiny detailed paintings to lavish crystal embellishments, the possibilities are limitless.
We've explored the best ways to apply chunky glitter for maximum sparkle. This guide simplifies the process, making it easy for even beginners to enhance their gel nails with glitter. Continue reading to master the art of glitter application.
How To Apply Chunky Glitter To Gel Nails?
Applying chunky glitter to your nails can be an incredibly simple way to dress up your manicure. So here are the various ways you can apply glitter:
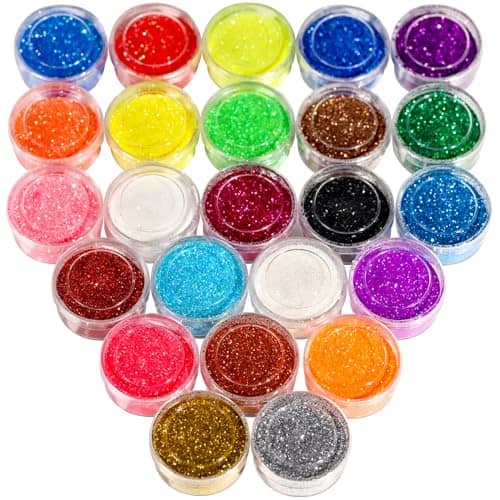
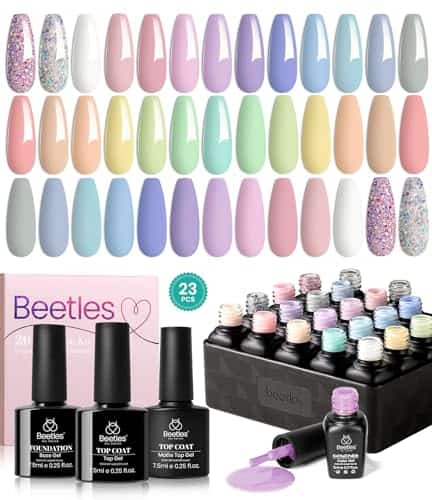
1. Select Your Glitter
As with many beauty products, the choice of which glitter to try can be overwhelming since there are many.
Of course, this comes down mostly to personal preference, and it depends on the look you are trying to achieve. Loose, fine, powdery glitter gives a sparkly and dainty appearance.
This article may include affiliate links and elements that were carefully created by our team using advanced ai to help you envision the best style advice.
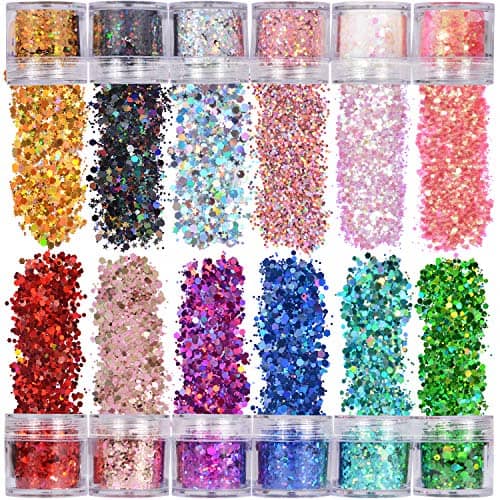
Chunky glitter (which sometimes contains fun shapes like stars in addition to large flakes) gives off a more funky vibe. For the best outcome, we highly recommend using glitter made especially for nails instead of generic craft glitter.
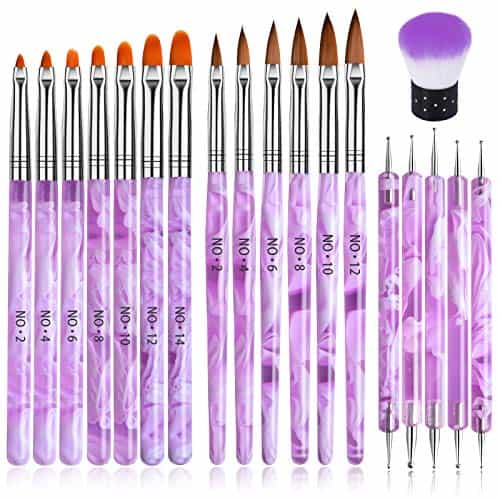
2. Select Your Brush
To apply glitter to your nails, you can use something as simple as the brush that comes in your nail polish or step up your nail game with a professional application brush. Nail brushes come in all different sizes to serve many different purposes.
Professionals recommend using a slightly smaller, rounded application brush for precision. To ensure the glitter adheres to the nail, you can mix it with acrylic or gel polish.
Whether to use a flat or square brush instead of a round-tipped brush depends on accuracy. To ensure the best coverage of your nail (or someone else’s), a rounded brush contours better to the natural nail shape.
A square or flat brush can lead to excess glitter or acrylic being applied, along with an overall sloppy application.
3. Apply Your Base Coat
In this step, you select and apply your gel nail polish. If you have or apply acrylic nails, the gel should be applied over the acrylic.
As mentioned before, if you go with acrylic nails, you can mix the glitter into the acrylic. Your gel polish can be either clear or colored. You want to be sure not to cure the polish before applying the glitter to ensure it adheres to the nail.
To learn more about which base coat to use, check out our article, "What Can I Use As A Base Coat For Nails?"
4. Add And Layer Glitter On Top
While your gel base coat is still wet and tacky, you can begin to apply the glitter. The easiest and most precise way to do this is to build your layers of glitter.
Add a small amount of gel or acrylic to your brush and dip it into the glitter. It is best to dab it onto your nail little bits at a time instead of painting it on, as you would with regular nail polish.
5. Sealing In Glitter
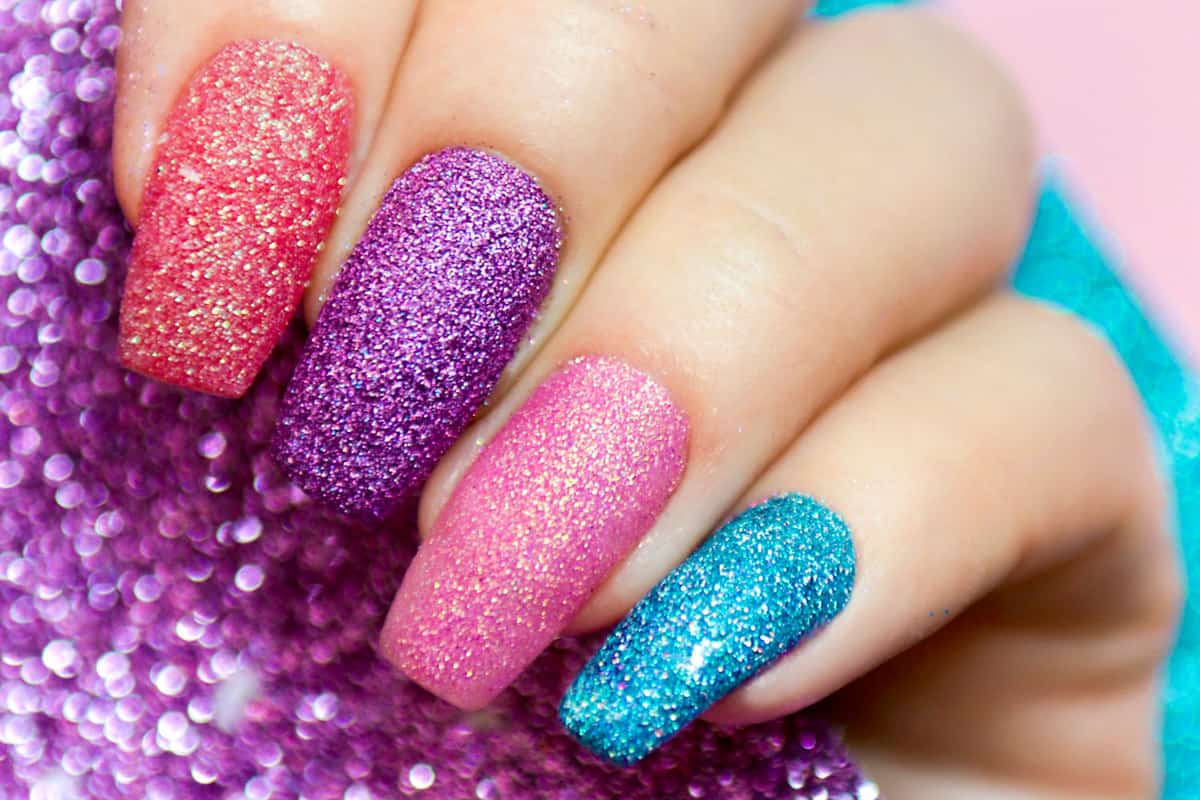
Lastly, you want to apply your topcoat and make sure your nails are cured. Whether you're applying glitter to your nails or a client's nails, you're often trying to achieve a sparkly, glitzy look.
You can never go wrong with a clear, shiny topcoat to encapsulate the glitter in tons of shine. This is the most obvious and often most appealing way to show off a glittery mani! This is a beautiful example of sealing in chunky, holographic glitter with a clear topcoat.
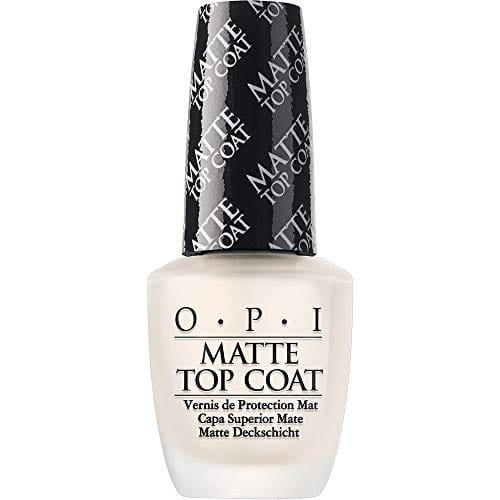
You can opt for a matte topcoat for a different appearance from the usually glossy glitter application.
The downside of a matte topcoat is that it offers little if any, protection from chips and wear.
Extremely popular and on-trend is a "jelly sandwich." This is where a colored gel polish is applied, followed by a layer of chunky glitter, then "sandwiched" in by applying another layer of the colored polish.
It is then topped off with a clear, matte topcoat. The video below shows how to make a "jelly sandwich" glitter manicure.
You could also "sprinkle" glitter on top of a colored polish to add texture, making the manicure appear sandy or dusted.
6. The Curing Process
One of the best investments you will make for your nails is a UV light to cure your nails. In this day and age, who has time to sit around waiting for nails to dry?
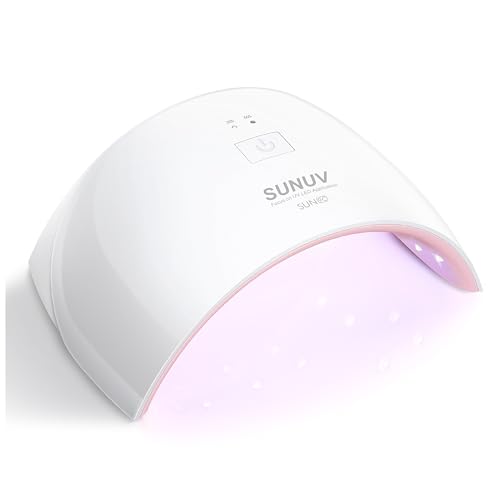
These machines work almost instantly and have your nails dry in a matter of minutes! Also, they aren't a total bank-breaker, either, and are incredibly affordable.
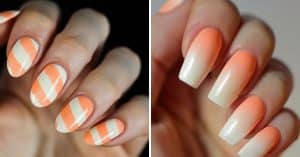
How Do You Do Glitter Ombre Nails With Gel?
Perhaps one of the biggest trends in nail art, ombre nails are always impressive to look at. There are a few ways to achieve the ombre look you most desire.
Here is an example of using an ombre glitter technique on accent nails.
1. Using A Sponge
Applying a transparent gel nail polish layer to a cosmetic sponge is a simple way to obtain a glitter ombre effect.
Then, apply the glitter, almost in stripes, onto the cosmetic sponge as well. Dab the sponge onto a nail (with a clear or a colored base gel coat already applied but not dry). This will transfer the glitter from the sponge onto the nail.
You can repeat this to achieve as much glitter and as subtle an ombre as you wish! To finish the look, seal in the glitter with the top coat of your choice.
2. Painting On The Glitter
This technique is much more hands-on—literally! In this case, you would start with a gel base coat (colored or clear—it's up to you!). Take one color of glitter at a time and layer it on the nail. You can start at the top or bottom of the nail, whichever is easiest for you.
Use a painting motion as you usually would with nail polish. The next color would be applied the same way, only slightly above or below the other color. You can repeat this as many or as few times as you prefer to attain the look you're after.
3. Specific Placement
You can also follow the steps described earlier in this article by placing one or a few chunky pieces of glitter one at a time. This placement method gives you a much more accurate application, and you can choose specifically at what point one color leads into another.
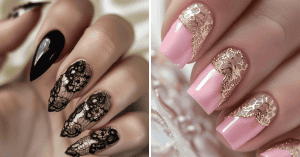
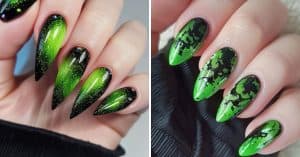
Discover these ideas to add some sparkle to your nails!
11 Sparkling Glitter Nail Designs That Will Light Up Your Look Instantly!
11 Must-Try Glitter And Flower Nail Designs For A Sparkling Look
Perfecting Your Glitter Application
The finish, type of glitter, and exactly how sparkly you want your nails to be are totally up to you! There are a few techniques that you can use to apply glitter to your liking. The options are endless as far as what you can do to experiment!
Enhance your social feed by sharing this post using thr image below, aiding in the discovery of these useful tips by others.