
"Introducing 'Braiding Mastery: A Step-By-Step Guide for All Hair Lengths.' Catering to individuals with short, medium, and long hair, our comprehensive guide ensures no one is left behind in the art of braiding.
From the basics like the classic three-strand to the fancier fishtails, we break it all down in simple, easy-to-understand steps.
With our straightforward instructions and expert pointers, you'll be twisting and turning your hair into stylish creations in no time!
Short Hair Braiding Techniques
Braiding short hair can be challenging, but with patience and a touch of creativity, you'll master various braid styles effortlessly.

This article may include affiliate links and elements that were carefully created by our team using advanced ai to help you envision the best style advice.
Here are some braids suitable for short hair:
Classic French Braid
A Classic French Braid is an elegant choice for those with short hair. It is versatile as it can be dressed up for events or casual for everyday wear.
- Begin with Parting:
- Start with the hair parted heavily on one side, focusing on the heavier side of the parting.
2. Initial Braid Setup:
- Take a small section from the front.
- Divide this section into three even parts.
3. Starting the Braid:
- Begin your braid by moving each side section into the middle, one at a time. Continue this pattern: side to middle, side to middle.
4. Incorporate More Hair:
- Start adding small sections of hair from both sides to your braid.
- To add hair: Merge a tiny strand from the side into your braid, then move it to the middle.
- When working on the right side, pull in the hair closest to the face.
- For the left side, take hair from the top parting, moving towards the braid.
5. Braid Path:
- Be strategic with hair addition: On the right, gather hair only to the ear, avoiding taking all hair around the face.
- For the left side, continue braiding until you reach the end of the parting. This method ensures that all hair framing the face gets neatly incorporated into the French braid.
6. Finishing the Braid:
- Continue to add small sections of hair from both sides into the braid until you reach the desired length.
- Once all the desired hair is braided, continue with a standard three-strand braid.
- Finish the braid by doing a few regular braid stitches.
- Secure your braid with a small hair elastic.
Dutch Braid
The Dutch Braid is another lovely option for short hair. Also known as an inverted French Braid, it gives off a slightly edgier, more prominent look.
To create a Dutch Braid, follow the same steps used for the Classic French Braid, but with one significant difference: instead of crossing the outer strands over the middle strand, cross them under it.
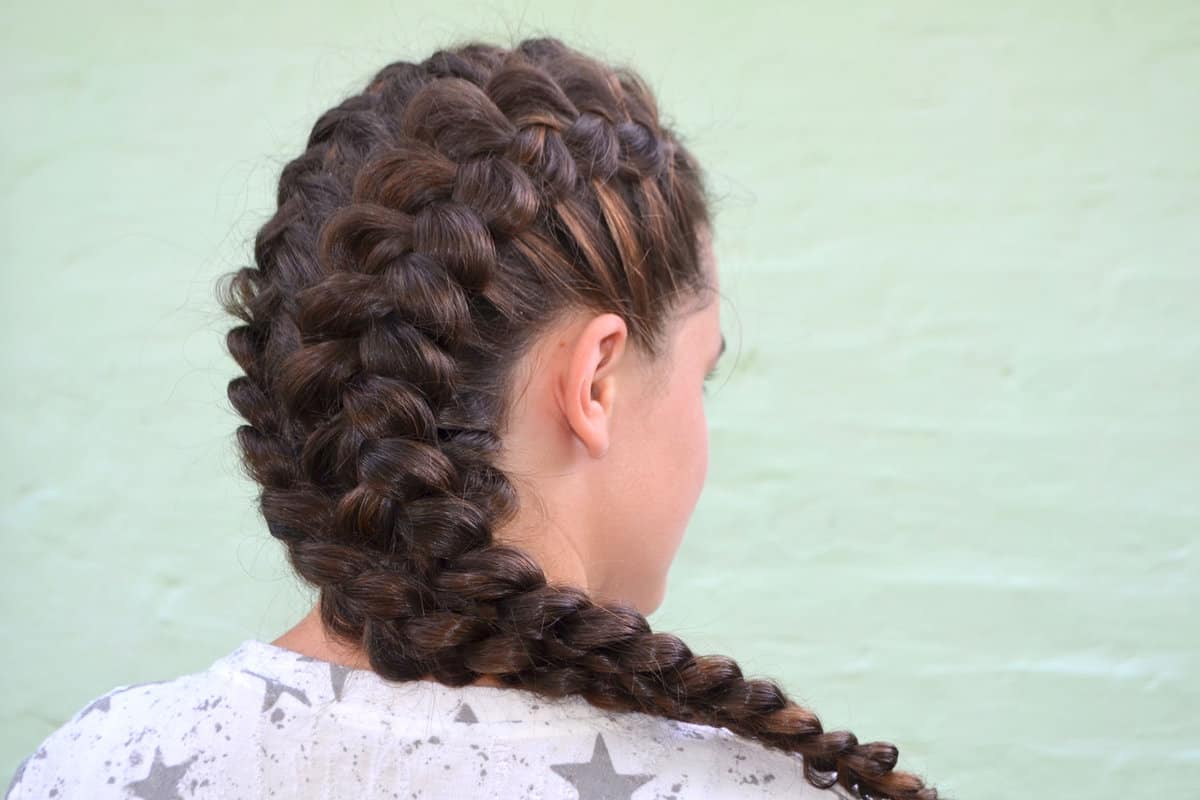
As you continue to add hair to the braid, don't forget to keep your hands close to the head to maintain tension, ensuring a polished result.
Dutch Braids are suitable for various hair lengths and can be adapted to create different looks, such as pigtails or crown braids.
Medium Hair Braiding Techniques
With the right techniques, your hair can transform into stylish designs, adding a touch of elegance or playful charm to any look.
Fishtail Braid
The fishtail braid is a stylish and playful option for medium-length hair.
To create this braid:
- Divide hair into two equal sections.
- Take a small strand of hair from the outer edge of one section and cross it over to the inner edge of the opposite section.
- Repeat this process by alternating sides and gradually working your way toward the end of your hair.
- Secure the braid with a hair tie and gently pull it apart for a fuller appearance.
Remember, practice makes perfect, so don't be discouraged if it takes a few tries to master the technique. The fishtail braid is versatile and can be worn as a side braid, half-up hairstyle, or even incorporated into updos.
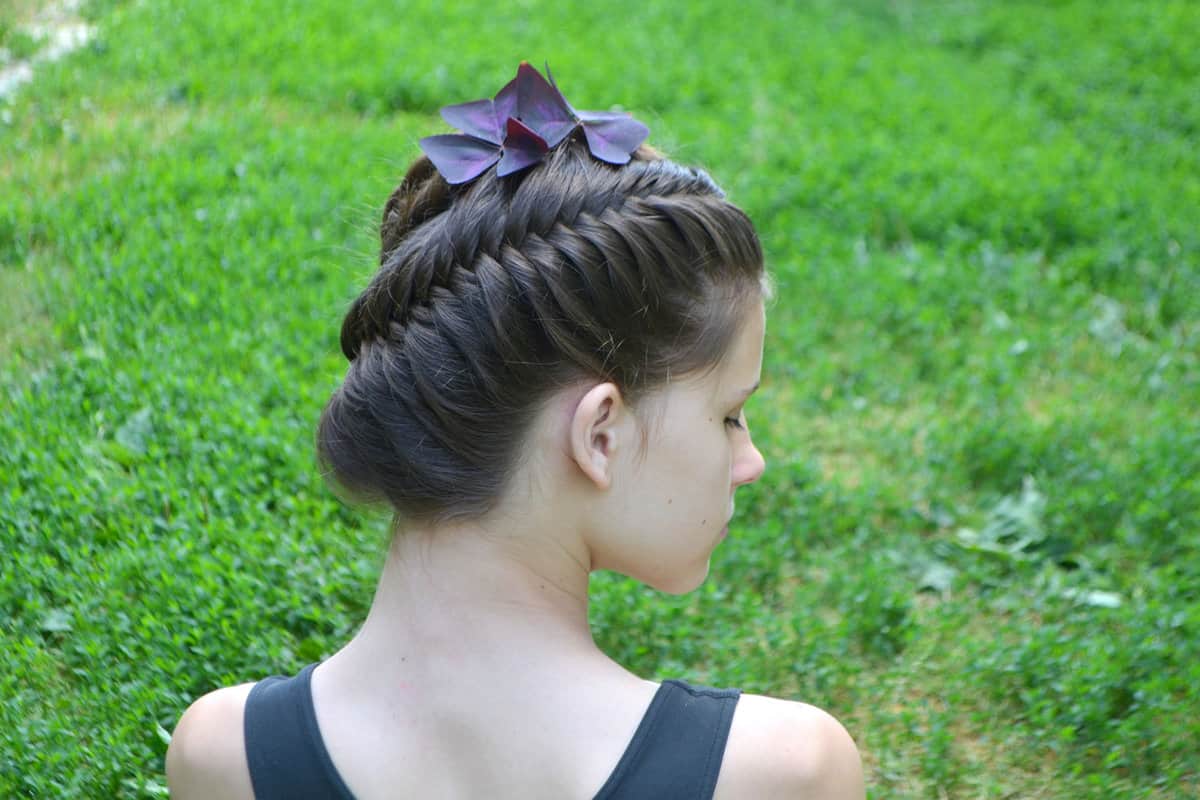
Waterfall Braid
The waterfall braid is an elegant and romantic choice for medium hair, particularly for special occasions.
While often seen on long and medium-length hair, this versatile style can be beautifully adapted for short hair as well.
To create the waterfall braid:
- Start by brushing your hair and parting it to one side.
- Pick up a small section of hair at the front of your head and divide it into three equal strands.
- Begin a normal three-strand braid process.
- Add hair to the top strand from the hairline, then cross it over the middle strand.
- Here's where the "waterfall" effect comes into play: let the bottom strand fall, and pick up a new section of hair from behind it.
- Continue braiding across your head, repeating steps 4 and 5 until you reach the desired length or reach the other side of your head.
- Secure the braid with a hairpin or hair tie.
Once you've mastered these braiding techniques, you can confidently show off your medium hair in various stylish and unique ways.
Long Hair Braiding Techniques
When it comes to braiding long hair, there are numerous techniques to choose from, allowing for beautiful and intricate styles.
This friendly guide highlights two popular braiding techniques for long hair: the Crown Braid and the Four Strand Braid.
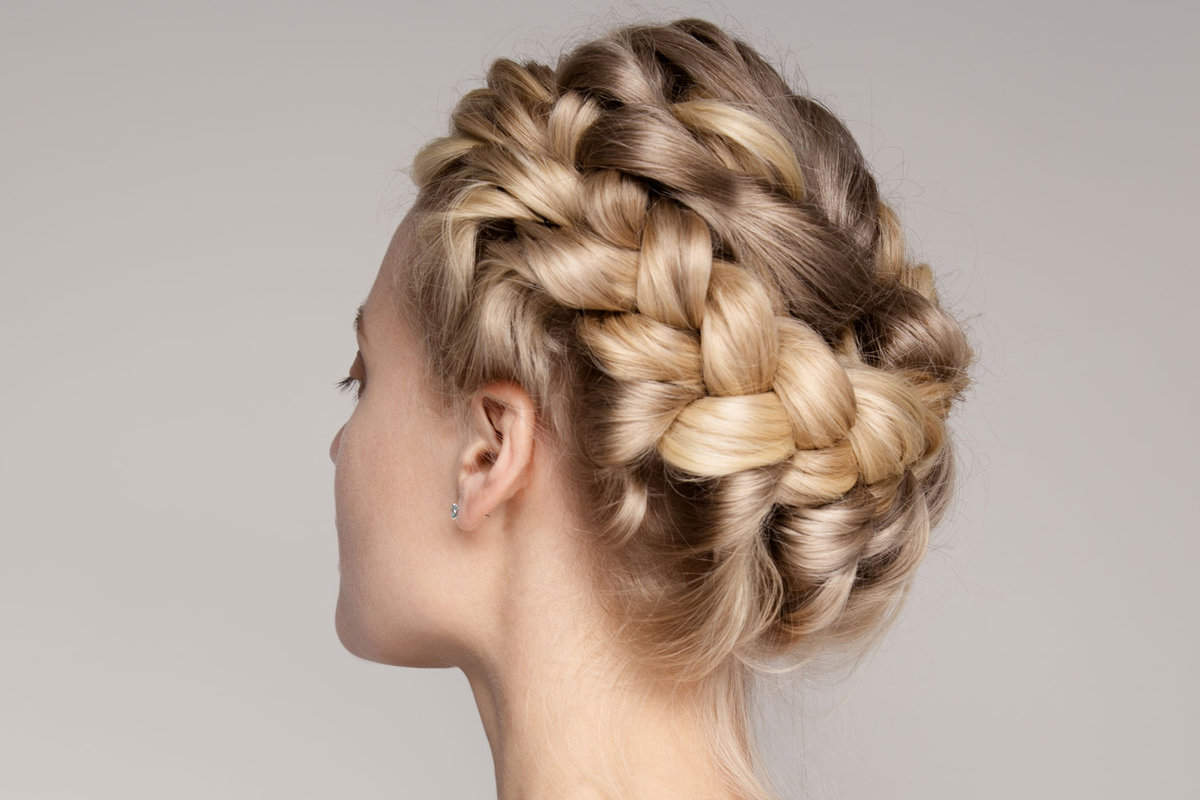
Crown Braid
A Crown Braid is an elegant hairstyle that circles the head, giving the appearance of a halo or a crown.
Follow these steps to create a stunning Crown Braid:
- Begin with a side part, focusing on the more substantial section of the part.
- From the front, segment a small portion of hair. This will be the foundation of your braid.
- Split this hair portion into three equal sections.
- Start by crossing the strands under each other.
- As you progress with the braid, incorporate hair from both sides as you weave it around the head.
- Ensure the braid is well-positioned as it circles the head. Periodically, halt and gently tug sections of the braid to create a fuller appearance.
- When pulling hair into the braid, aim for a straight angle. This ensures a uniform look and minimizes visible part lines.
- As the braid nears the top, adjust the angle slightly upwards for the best fit.
- Aim to keep the hair beneath smooth, especially when near the braid's end. Using larger chunks can help achieve this.
- Once all the hair has been braided and you're near the starting point:
- If the hair is long enough, continue braiding until you close the gap.
- Integrate the new braid into the starting section by:
- Picking up the first section of the existing braid.
- Weave the ongoing braid through this section, continuing the braiding process.
- Do this by taking each new section and passing it through the loops of the existing braid.
- When you reach the tail end of the braid, secure it with a clear hair tie.
- Tuck the end into the braid, weaving it in for a polished finish.
- Tuck the end into the braid, weaving it in for a polished finish.
- Loop back to the start, pull, and adjust any sections of the braid to ensure it's symmetrical and well-placed.
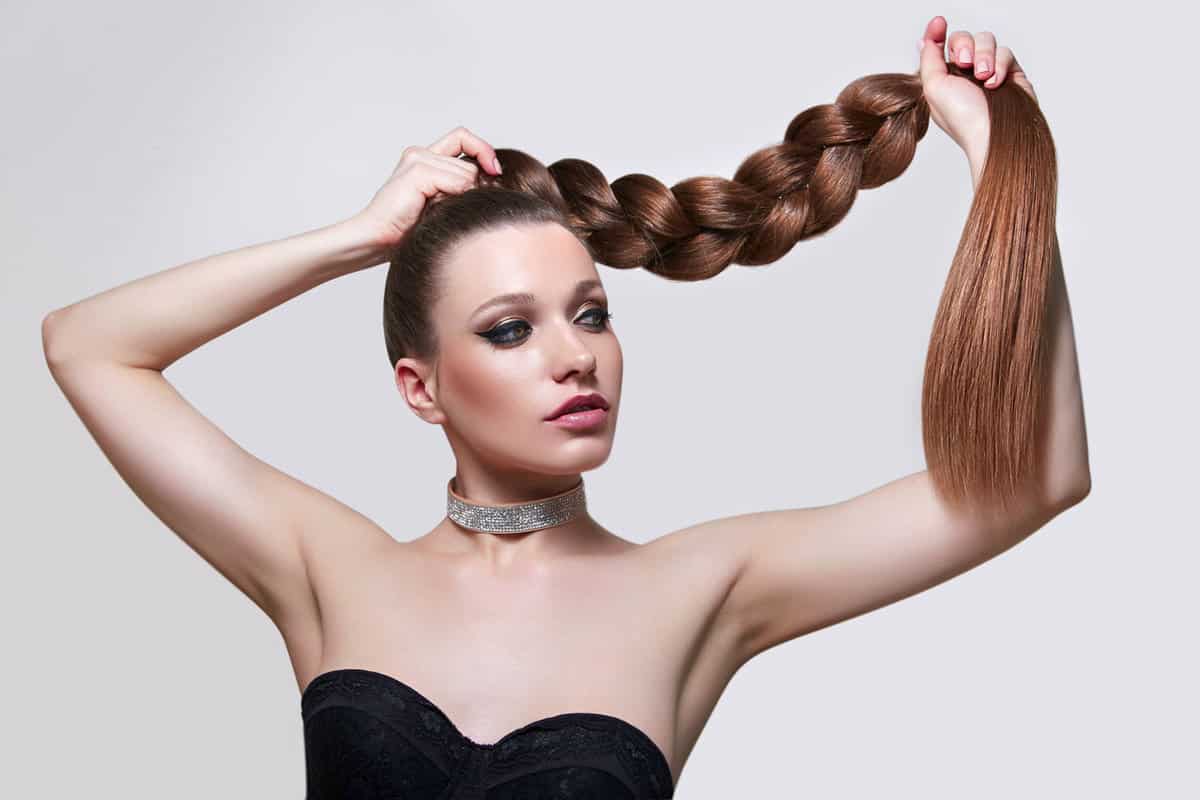
Four Strand Braid
The Four Strand Braid is a unique and eye-catching braid perfect for showcasing long hair.
Here's how to create this intricate braid:
- Starting Point: Split the hair into 4 equal sections. Slide 3 fingers through the hair, and you will quickly get the 4 sections you need.
- Begin the Weaving Process
- Start with the rightmost strand.
- Cross this strand over the strand immediately to its left (the first strand).
- Then, weave it under the next strand (the second strand).
- Finally, cross it over the last strand (the third strand).
- This will ensure the strand you started with has moved to the left side of the braid.
- Repetition is Key
- Once again, begin with the rightmost strand.
- Follow the same pattern: Cross over the first strand, go under the second, and cross over the third strand.
- You will notice that you've once again moved the weaving strand to the left side.
- Keep Going
- Continue this weaving pattern (over, under, over) with the rightmost strand until you reach the end of the hair.
- Continue this weaving pattern (over, under, over) with the rightmost strand until you reach the end of the hair.
- Finishing Touch
- Once you've braided all the way to the ends, secure the braid with an elastic hair tie.
Remember to maintain a consistent tension as you braid, and practice makes perfect when mastering both the Crown Braid and Four Strand Braid.
With time and patience, you'll create stunning braided hairstyles to show off your long locks.
Braiding Mastery: The Final Strand
Mastering the art of braiding takes practice, but following this guide, anyone can learn to create beautiful braids for short, medium, and long hair.
With the help of step-by-step tutorials, even beginners can confidently style their hair into different braids.
Remember to always start with detangled hair and use a cream or paste to smooth out stray hairs. As you continue to braid, add small pieces of hair evenly, keeping sections clean and well-maintained.
There are countless braids to try, such as the classic three-strand braid, French braid, Dutch braid, and more.
Practicing different braiding techniques will not only enhance your braiding skills but also allow you to experiment with various looks.
Ultimately, it's all about having fun and embracing your creativity. Try new braiding techniques and find the styles that make you feel confident and stylish. With patience and practice, braiding mastery is within reach for everyone.
Read more:
What Does Hair Mousse Do For Braids?
Take Balletcore To The Next Level With Blackpink “Jensetter” Jennie’s Ribbon Hairstyle